
Understanding the Shaggy Dough Stage
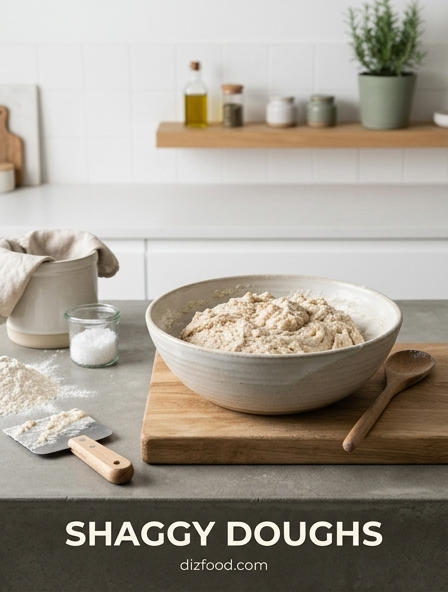
The shaggy dough stage represents the critical first phase in the bread-making process where raw ingredients begin their transformation into a structured medium. This stage occurs immediately after the liquid and dry components are combined but before any significant kneading or gluten development has taken place. Visually, the mixture appears unappealing, characterized by a lumpy, heterogeneous texture with visible dry patches and uneven moisture distribution. However, this messiness is an essential indicator that the hydration process is underway.
During this period, the flour particles begin to absorb the water, initiating the chemical bonds that will eventually form the gluten network. While it may be tempting to continue mixing until the dough is smooth, the shaggy stage serves as a resting point that prevents overworking the dough too early. Recognizing this state allows the baker to ensure that all flour is sufficiently hydrated without prematurely exhausting the proteins. This foundational step sets the pace for the fermentation and structural integrity of the final loaf, making it a pivotal moment for both novice and professional bakers.
Essential Tools for Initial Mixing
Achieving the perfect shaggy mass requires specific tools designed to handle the sticky, unrefined nature of wet flour. Because the dough is highly adhesive at this stage, using the wrong equipment can result in significant waste and uneven hydration. The goal is to incorporate ingredients thoroughly while minimizing the amount of dough that clings to surfaces. Professional bakers often rely on a curated selection of implements to streamline this messy but necessary part of the process.
- Large Ceramic or Glass Bowl: Provides ample space for folding and prevents the dough from cooling too quickly during the initial mix.
- Danish Dough Whisk: The preferred tool for cutting through thick mixtures without the resistance of a solid spoon.
- Flexible Bench Scraper: Essential for cleaning the sides of the bowl and ensuring every gram of flour is incorporated into the mass.
- Digital Scale: Vital for precision, as the shaggy stage relies on accurate hydration ratios to achieve the desired final consistency.
By utilizing these specific tools, the baker maintains better control over the environment, ensuring that the transition from dry ingredients to a shaggy mass is efficient and clean.
Benefits of Using a Danish Dough Whisk
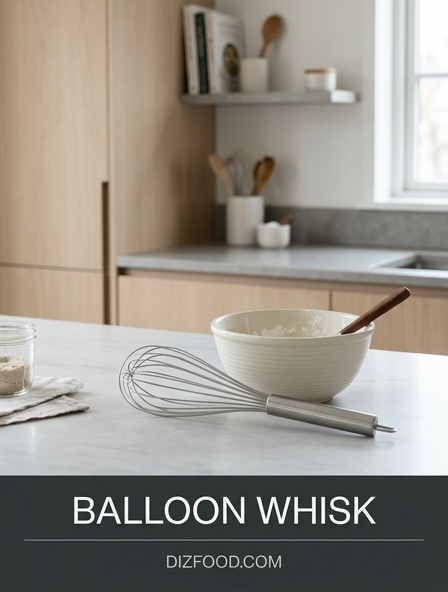
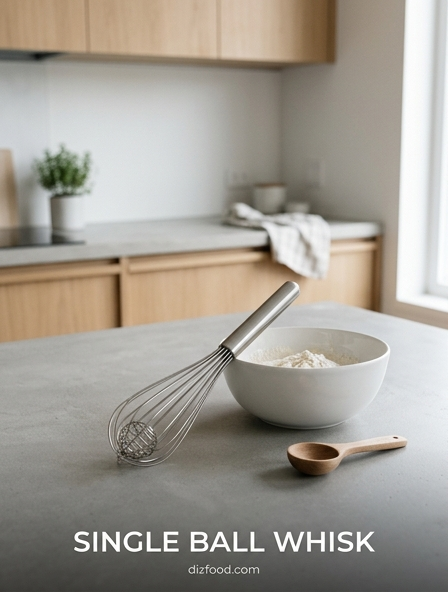
The Danish dough whisk is a specialized tool that has gained immense popularity for its unique ability to handle the shaggy dough stage. Unlike a traditional balloon whisk, which becomes clogged with sticky dough, or a wooden spoon, which creates high resistance, the open-loop design of the Danish whisk allows ingredients to flow through it freely. This design minimizes the surface area to which the dough can stick, making the initial mixing process significantly more manageable and less frustrating for the baker.
Beyond cleanliness, the whisk is exceptionally efficient at breaking up large flour clumps. Its stiff wire construction provides the leverage needed to fold heavy, high-hydration mixtures without bending or breaking. This tool is particularly effective for sourdough and artisanal breads where maintaining a gentle touch is important. By reducing the friction and physical effort required to reach a shaggy consistency, the Danish dough whisk ensures that the flour is evenly distributed and fully hydrated with minimal agitation, preserving the integrity of the flour's proteins from the very start.
The Science of Flour Hydration and Absorption
At the molecular level, the shaggy dough stage is a complex interaction between water and the proteins gliadin and glutenin. When water is added to flour, it begins to penetrate the starch granules and protein fibrils. This process is not instantaneous; it requires time for the moisture to migrate from the exterior of the flour particles to their core. If the dough is rushed past the shaggy stage into intensive kneading, the hydration may be uneven, leading to a finished product with poor crumb structure or dry pockets.
| Component | Role in Shaggy Stage | Impact on Dough |
|---|---|---|
| Water | Solvent/Hydrator | Activates enzymes and proteins. |
| Gliadin | Extensibility | Allows the shaggy mass to stretch. |
| Glutenin | Elasticity | Provides the initial strength. |
| Enzymes | Breakdown | Converts starches into fermentable sugars. |
Proper absorption during this initial phase ensures that the gluten network can form effectively later. The shaggy appearance is simply the macroscopic view of these microscopic processes beginning to take hold across the entire mass.
Visual Cues for Perfect Shaggy Texture
Identifying the exact moment to stop mixing and let the dough rest is a skill developed through observation. A perfect shaggy dough should not look like a finished product; instead, it should resemble a rough, torn landscape. Understanding these visual cues prevents the common mistake of over-mixing before the autolyse phase. The baker must look for a specific balance between moisture and structure to ensure the dough is prepared for its next evolutionary step.
- Absence of Dry Flour: There should be no visible white powder at the bottom of the bowl or clinging to the sides.
- Tattered Appearance: The mass should look like it has been pulled apart, with jagged edges and a dull, non-reflective surface.
- Uniform Moisture: While lumpy, the dough should appear consistently damp without significant pools of standing water.
- Cohesion: The mixture should hold together as a single unit when the bowl is tilted, even if the surface remains rough.
Once these indicators are met, the dough has officially reached the shaggy stage. This is the signal for the baker to cease active mixing and allow the natural processes of hydration and enzymatic activity to take over the structural development.
Maximizing Gluten Development Through Autolyse
The autolyse technique is a powerful method used during the shaggy dough stage to jumpstart gluten development without physical labor. Developed by Raymond Calvel, this process involves letting the shaggy mixture of flour and water rest for a period ranging from twenty minutes to several hours. During this rest, the flour becomes fully hydrated, and the enzymes protease and amylase begin to work. Protease breaks down some of the gluten bonds, which actually makes the dough more extensible and easier to handle during subsequent kneading or folding.
By allowing the shaggy mass to sit, the baker reduces the total kneading time required later. This is beneficial because excessive mechanical mixing can oxidize the flour, leading to a loss of flavor and a paler crumb color. When the rest is complete, the once-shaggy and fragile mass will have transformed into a noticeably smoother, more elastic substance. This transition occurs naturally, proving that patience during the initial phases of dough preparation is just as important as the physical technique used to shape the final loaf.
Common Mixing Errors to Avoid
Navigating the shaggy dough stage can be tricky for those accustomed to uniform, processed textures. One of the most frequent errors is adding too much flour when the dough appears "too sticky." Because the flour hasn't had time to fully absorb the water, it is easy to misjudge the hydration level. Adding flour at this stage can result in a dense, dry bread that lacks the desired lightness. Another common mistake is over-mixing the shaggy mass until it becomes tough, which can hinder the natural enzymatic processes that occur during the resting period.
- Using Hot Water: Water that is too warm can prematurely activate yeast or damage the protein structure, leading to a gummy texture.
- Inadequate Bowl Scraping: Leaving dry flour on the sides of the bowl creates hard bits in the finished dough.
- Skipping the Rest: Moving directly from mixing to intensive kneading without a pause prevents proper hydration.
- Inconsistent Incorporation: Failing to reach the bottom of the bowl can leave a hidden layer of dry ingredients.
Avoiding these pitfalls ensures a smoother transition through the bread-making stages and results in a more consistent and professional-quality crumb structure.
Mastering the First Stage of Dough Consistency
Mastering the consistency of the shaggy mass is about developing a feel for the resistance of the dough. It requires a balance between the aggressive incorporation of ingredients and a gentle touch that respects the burgeoning gluten strands. Professionals often use their hands during this stage to better gauge the hydration levels, feeling for any hard lumps or overly wet spots that a tool might miss. The goal is to reach a state of "organized chaos" where the ingredients are combined but the structure is still relaxed.
To achieve mastery, one must focus on the folding motion rather than a circular stirring motion. Folding brings the dry ingredients from the bottom to the top, ensuring a more homogeneous distribution of moisture. As the baker works the dough into its shaggy state, they should notice a gradual increase in the dough's "strength," even before formal kneading begins. This awareness of how the dough responds to initial contact is what separates a novice from an expert. By perfecting this first stage, the baker creates the ideal environment for yeast activity and future gas retention.
The Transition from Shaggy Mass to Smooth Dough
The transition from a shaggy mass to a smooth, supple dough is one of the most rewarding aspects of baking. This transformation is driven by the alignment of glutenin and gliadin into long, elastic chains. Once the shaggy dough has rested and the salt and yeast (if not already added) are incorporated, the physical work begins. Whether through traditional kneading, the "stretch and fold" method, or the "slap and fold" technique, the jagged edges of the shaggy mass begin to round out and the surface develops a healthy sheen.
As the dough is worked, the stickiness that characterized the shaggy stage begins to disappear. This is not because the dough is drying out, but because the water is being locked into the developing protein structure. The dough will eventually pass the "windowpane test," a clear sign that the transition is complete. This journey from a lumpy, unattractive pile of ingredients to a smooth, resilient ball of dough is a physical manifestation of the chemical bonds that provide bread with its shape, volume, and chew. Understanding this progression is key to troubleshooting any issues with dough strength.
Professional Techniques for High Hydration Mixing
Handling high-hydration doughs requires specialized techniques because the shaggy stage is significantly wetter and more difficult to manage than standard recipes. Professional bakers often utilize methods that maximize strength without adding excess flour. These techniques are designed to work with the stickiness rather than against it, using the dough's own weight and surface tension to build structure. When a dough is 75% hydration or higher, the shaggy stage can look more like a thick batter than a traditional dough, requiring a different approach to incorporation.
- The Rubaud Method: A scooping and lifting motion using one hand that incorporates air and builds strength while the dough is still in its wet, shaggy state.
- Bassinage: Holding back a portion of the water until the shaggy mass has begun to develop some initial gluten, then slowly adding the remaining liquid.
- Pincer Method: Using the hand like a claw to cut through the shaggy mass, ensuring yeast and salt are evenly distributed.
- Coil Folds: A gentle way to build structure in very wet doughs after the initial shaggy mix has rested.
Employing these professional techniques allows for the creation of open, airy crumbs and thin, crispy crusts that are the hallmarks of high-quality artisanal bread.

Comments