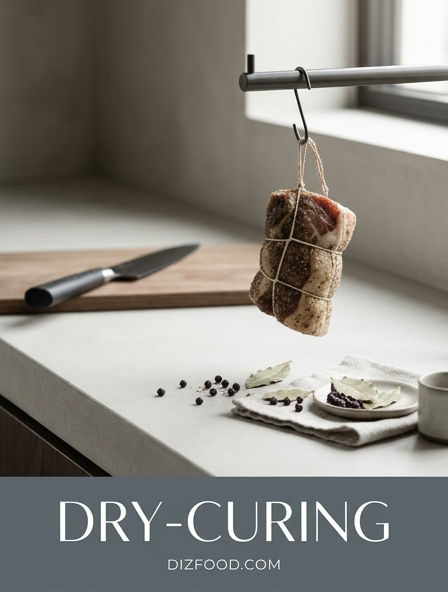
The Science Behind Salt and Surface Moisture
The process of dry-curing or dry-brining begins with osmosis. When salt is applied to the surface of meat, it initially draws moisture out of the muscle fibers through the cell membranes. This creates a highly concentrated brine on the exterior of the protein. Within approximately thirty to forty-five minutes, the salt begins to break down the protein structure, specifically the muscle filament known as myosin. This chemical transformation allows the meat to reabsorb the salty liquid, pulling flavor deep into the interior.
Effective moisture management is essential for a successful cure. As the brine is reabsorbed, the surface of the meat becomes significantly drier than its original state. This lack of surface moisture is the primary goal for chefs seeking a professional-grade finish. By managing the hydration levels through salt application, you ensure that the internal fibers remain succulent while the exterior stays primed for heat. The following factors influence this moisture migration:
- Relative humidity within the refrigeration unit.
- The ratio of salt weight to the total mass of the protein.
- Total surface area exposure to ambient air.
- The specific density of the fat cap or connective tissue.
Dry Brining vs Wet Brining for Texture
Choosing between dry and wet brining fundamentally changes the structural integrity and mouthfeel of the protein. Wet brining involves submerging meat in a salt-and-water solution, which increases the total weight of the meat through water absorption. While this provides a very juicy result, it often leads to a "spongy" or diluted texture that lacks the concentrated beefy or savory essence found in traditional dry-curing methods.
Dry brining, conversely, focuses on enhancing the meat's natural juices without adding external water. This results in a tighter grain and a more robust, "steaky" texture. The difference is most notable in the skin of poultry and the crust of beef, where dry methods excel at creating a crisp, thin exterior. The comparison below highlights the technical differences between the two methods:
| Feature | Dry Brining | Wet Brining |
|---|---|---|
| Skin Texture | Crispy and translucent | Soft or rubbery |
| Flavor Profile | Concentrated and intense | Mild and hydrated |
| Surface Prep | Ready for searing | Requires extensive drying |
| Internal Temp | Heats evenly | Higher moisture slows rise |
Best Salt Varieties for Effective Curing
Not all salts are created equal when it comes to the chemistry of dry-curing. The grain size and shape significantly impact how quickly the salt dissolves and how evenly it coats the protein surface. For most kitchen applications, Kosher salt is the industry standard due to its hollow, flaky structure. This shape allows it to adhere to the meat more effectively than rounder grains and makes it easier to distribute by hand without over-salting.
Fine table salt should generally be avoided for dry-curing because its density makes it too easy to apply an excessive amount, leading to a harsh, metallic flavor. Furthermore, many table salts contain anti-caking agents or iodine, which can interfere with the pure flavor profile of the meat. When selecting a salt for your cure, consider these common varieties:
- Diamond Crystal Kosher: Preferred for its low density and excellent adherence.
- Maldon Sea Salt: Best used as a finishing salt rather than a cure due to large crystal size.
- Morton Kosher: Denser than Diamond Crystal; requires a lighter hand during application.
- Sel Gris: A moist sea salt that adds mineral complexity to long-term cures.
Maximizing the Maillard Reaction Through Dryness
The Maillard reaction is the chemical dance between amino acids and reducing sugars that gives browned food its distinctive flavor and color. This reaction requires high temperatures, typically starting at around 285°F (140°C). However, if the surface of your steak or chicken is wet, the temperature cannot rise above 212°F (100°C) until that water has completely evaporated. This creates a "steaming" effect rather than a searing effect, resulting in grey, unappetizing meat.
Dry-curing serves as the ultimate insurance policy for a perfect sear. By drawing moisture away from the surface and into the fridge's air, the salt allows the heat of the pan to immediately begin the browning process. This efficiency means the meat spends less time in the pan to achieve a crust, which prevents the "grey band" of overcooked meat beneath the surface. Consequently, the interior remains medium-rare or juicy while the exterior develops a complex, caramelized bark that is physically impossible to achieve with a damp piece of protein.
Ideal Resting Times for Steak and Poultry
Timing is the most critical variable in the dry-curing process. If you salt a steak and cook it immediately, the moisture drawn to the surface will ruin your sear. If you wait only fifteen minutes, you catch the meat at its wettest point. For the best results, you must wait for the salt to complete its cycle of drawing out and then reabsorbing the moisture. The resting period allows the salt to penetrate deep into the muscle fibers, seasoning the meat from the inside out.
The duration of the rest depends largely on the size and thickness of the protein. Smaller cuts require less time to achieve equilibrium, while larger birds need several days for the skin to fully dehydrate. Follow these general guidelines for optimal resting:
- Individual Steaks: Minimum of 45 minutes, but ideally 24 hours uncovered.
- Whole Chickens: 12 to 24 hours to ensure the skin becomes parchment-like and thin.
- Roasts and Pork Shoulders: 24 to 48 hours to allow salt to reach the center of the cut.
- Whole Turkeys: Up to 72 hours, particularly if aiming for ultra-crisp skin for a holiday meal.
Using Airflow and Wire Racks for Success
To maximize the efficacy of a dry cure, the protein must be exposed to air on all sides. Placing meat directly on a plate or a solid tray during the curing process creates a "cold spot" where moisture pools at the bottom. This results in a soggy underside that will never crisp up in the pan or oven. The solution is the use of a wire cooling rack set over a rimmed baking sheet, which facilitates 360-degree air circulation.
Airflow accelerates the evaporation of surface moisture and ensures the salt works uniformly across the entire cut. In professional settings, specialized dry-aging fridges use fans to maintain constant air movement, but home cooks can achieve similar results by positioning the meat in the coldest, driest part of the refrigerator-usually the back of the bottom shelf. This elevation also prevents the meat from sitting in its own juices, which can harbor bacteria if left too long. By ensuring the bottom of the meat is as dry as the top, you guarantee a consistent, golden-brown crust across the entire surface area during the final cook.
How Dry Curing Enhances Natural Protein Flavors
Dry-curing is not just about texture; it is a powerful tool for flavor concentration. As the meat rests in the refrigerator, a small percentage of its total water content evaporates. This reduction in water mass concentrates the natural solutes, fats, and proteins within the tissue, leading to a more intense "meaty" flavor profile. This is why dry-aged beef tastes significantly more potent than fresh beef; it is essentially the same flavor, just less diluted.
Additionally, the presence of salt over an extended period triggers subtle enzymatic activity. These enzymes begin to break down large, flavorless molecules into smaller, savory ones, such as glutamates. This process mimics the early stages of dry-aging, providing a depth of flavor that cannot be achieved through traditional seasoning right before cooking. The result is a profile characterized by umami and richness, where the natural characteristics of the specific breed or feed of the animal are brought to the forefront, unmasked by excessive surface moisture.
Common Mistakes in the Dry Brining Process
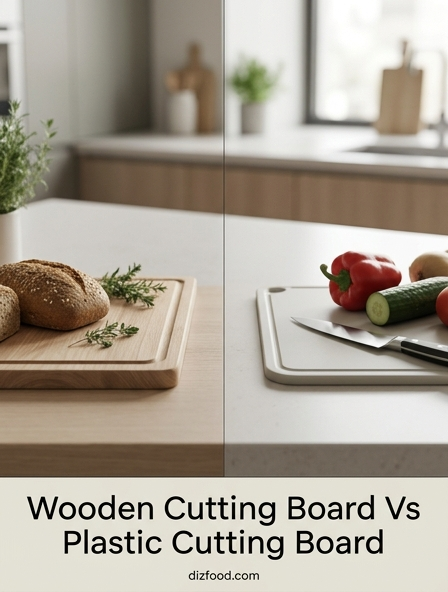
Despite its simplicity, several common errors can undermine the dry-curing process. The most frequent mistake is covering the meat with plastic wrap or aluminum foil. This traps moisture against the surface, creating a humid environment that prevents the skin from drying and stops the Maillard reaction from occurring efficiently. The meat must remain uncovered to benefit from the refrigerator's dehydrating effects.
Another error is the use of improper salt ratios. Using too little salt will fail to trigger the osmotic pump necessary to season the interior, while using too much can result in an inedible, over-salted exterior. Precision is key. Avoid the following pitfalls to ensure a successful cure:
- Using iodized table salt, which imparts a chemical aftertaste.
- Curing for too short a window (under 30 minutes), which leaves the meat at its wettest stage.
- Rinsing the meat after the cure; this reintroduces the moisture you worked to remove.
- Neglecting to pat the meat dry with paper towels even after a 24-hour air-dry.
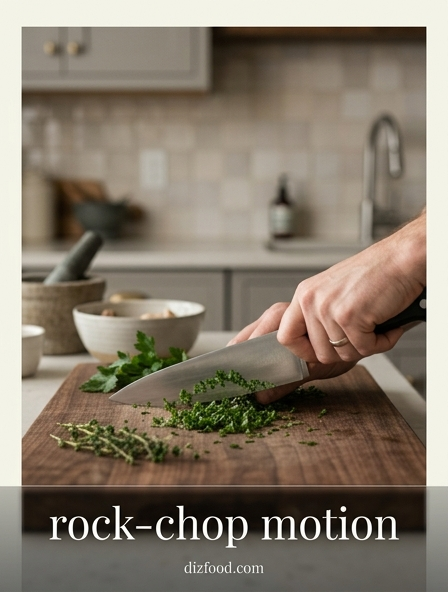
Integrating Aromatics and Spices Into the Cure
While salt is the functional engine of the dry cure, it also acts as a carrier for aromatics and spices. Many flavor compounds are fat-soluble or water-soluble, and the brine created during the initial stages of curing is the perfect vehicle to transport these flavors into the meat. Crushed peppercorns, dried herbs, and garlic powder are excellent additions to a salt rub, as they will adhere to the moist surface and infuse their essence as the brine is reabsorbed.
However, caution is necessary when choosing which aromatics to include. Fresh herbs, like parsley or cilantro, tend to oxidize and turn bitter or grey during a 24-hour rest. Stick to "hard" herbs like rosemary and thyme, or use high-quality dried spices. Spices with high sugar content, such as paprika or onion powder, should be monitored closely during the sear, as they can burn more quickly than the meat itself. By blending these elements into your salt, you create a multi-dimensional seasoning layer that penetrates far deeper than a surface-level spice rub applied at the last second.
Step by Step Preparation for a Perfect Sear
After the dry-curing period is complete, the final preparation is what translates your hard work into a culinary success. Even though the meat has been air-drying, a final inspection is necessary to ensure no pockets of moisture remain. The surface should feel tacky or slightly leathery to the touch, which is the ideal state for rapid caramelization. Follow these steps to ensure your sear is flawless:
- Final Wipe: Use a fresh paper towel to pat down the meat one last time, removing any residual moisture or beads of fat.
- Temper: Allow the meat to sit at room temperature for 30 to 60 minutes to take the chill off, ensuring even heat penetration.
- Oil the Meat, Not the Pan: Lightly coat the protein with a high-smoke-point oil (like avocado or grapeseed) to ensure full contact with the heat.
- High Heat Start: Place the meat in a preheated cast iron or carbon steel pan until a deep mahogany crust forms.
- Butter Basting: In the final minute, add butter and aromatics to the pan to coat the dry, porous crust with rich flavor.


Comments