Understanding Resin Identification Codes for Food Safety
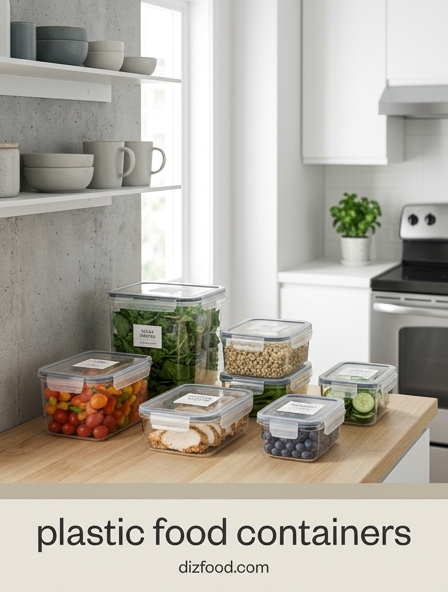
Navigating the world of plastic food containers begins with decoding the small numbers found inside the recycling triangle, known as Resin Identification Codes. These numbers, ranging from one to seven, indicate the type of plastic resin used in the manufacturing process and provide essential clues regarding food safety and durability. For kitchen use, understanding which plastics are suitable for cold storage versus those that can withstand heat is critical for maintaining a healthy household.
| Code | Material | Safety Level |
|---|---|---|
| 1 (PETE) | Polyethylene Terephthalate | Single-use only |
| 2 (HDPE) | High-Density Polyethylene | Generally safe for food |
| 4 (LDPE) | Low-Density Polyethylene | Safe for bags and lids |
| 5 (PP) | Polypropylene | High heat resistance; safe |
While codes 2, 4, and 5 are typically considered the safest options for food contact, code 7 is a catch-all category that may include polycarbonate, which often contains BPA. It is advisable to minimize the use of code 3 (PVC) and code 6 (Polystyrene) for food storage, as these are more prone to leaching chemicals when exposed to varying temperatures or acidic foods.
BPA-Free Plastic Benefits and Limitations
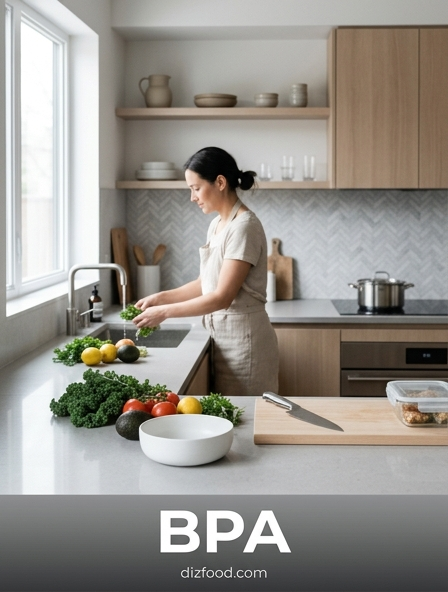
The label "BPA-Free" has become a standard marketing tool for plastic kitchenware, intended to reassure consumers that Bisphenol A is absent. This industrial chemical was historically used to harden plastics but was found to mimic estrogen, leading to potential endocrine disruption. Transitioning to BPA-free containers significantly reduces exposure to this specific toxin, particularly in items used by children or for long-term meal prep. However, being BPA-free does not automatically mean a product is free from all chemical risks.
- BPS and BPF: Many manufacturers replace BPA with Bisphenol S or F, which may have similar hormonal effects.
- Additives: Plastics often contain phthalates or stabilizers that are not covered by the BPA-free label.
- Purity: Low-quality BPA-free plastics may still degrade under stress, releasing other polymer components.
To maximize the benefits of these containers, users should remain vigilant about the physical condition of the plastic. Even the highest quality BPA-free material can reach its limit of safety if it is repeatedly exposed to high-heat cycles or aggressive cleaning chemicals. Viewing BPA-free status as one part of a broader safety strategy-rather than a total guarantee-allows for more informed decisions regarding kitchen inventory management.
Temperature Control for Chemical Leaching Prevention
The relationship between temperature and plastic stability is a primary concern for food safety experts. Chemical leaching occurs when the molecular bonds of the plastic weaken, allowing additives to migrate into the food. This process is drastically accelerated by heat. Pouring boiling soups directly into plastic containers or using them to store steaming leftovers can cause the material to soften and release unwanted compounds. Even if a container is rated for heat, the cumulative effect of thermal stress can compromise its integrity over time.
To mitigate these risks, it is recommended to let cooked food cool to room temperature before transferring it to plastic storage. For those who frequently store hot meals, glass or stainless steel may be preferable for the initial cooling phase. Conversely, extreme cold can also impact plastic, making certain resins brittle and prone to micro-cracking. When micro-cracks form, they provide pockets where bacteria can thrive and where chemical migration becomes more likely. Maintaining a consistent, moderate temperature range for your plasticware is the most effective way to ensure that the containers remain chemically inert and safe for long-term use in your kitchen.
Microwave Safety Guidelines for Food Storage
Using plastic containers in the microwave requires a strict adherence to safety symbols and manufacturer instructions. A "microwave safe" designation does not mean the plastic is indestructible or that it won't leach chemicals; rather, it indicates that the container will not melt or break during a standard heating cycle. When plastic is subjected to microwave radiation, it can develop localized "hot spots" where the temperature far exceeds the average, potentially damaging the polymer structure of the container.
- Check for the microwave-safe icon, usually a series of wavy lines, on the bottom of the dish.
- Avoid microwave-safe plastics for foods high in fat or sugar, as these reach higher temperatures quickly.
- Never microwave single-use plastics, such as takeout containers or margarine tubs, which are not designed for heat.
- Vent the lid by cracking it open or removing it entirely to prevent steam pressure buildup.
If a plastic container becomes pitted or stained after microwaving, it is a sign that the material has been compromised. In such cases, the container should be repurposed for dry storage or recycled, as it is no longer suitable for heating food.
Identifying Signs of Plastic Degradation and Wear
Even the most durable plastic food containers have a limited lifespan. Recognizing when a container has reached the end of its functional life is crucial for maintaining a healthy kitchen. Degradation manifests in several visible and tactile ways, often starting with a loss of clarity. If a once-clear container becomes cloudy or opaque, it suggests that the plastic is breaking down at a molecular level due to heat, UV exposure, or chemical interactions with food acids.
- Surface Scratches: Deep grooves can harbor bacteria that are difficult to remove through standard washing.
- Texture Changes: A sticky or tacky surface indicates that the plasticizers are leaching out of the material.
- Brittleness: Plastic that feels stiff or cracks easily when pressed has lost its flexibility and should be discarded.
- Lingering Odors: Persistent smells that remain after thorough cleaning often signal that food particles are trapped in the plastic's pores.
Regular inspections of your container collection can prevent safety hazards. If you notice "pitting"-small holes or rough patches caused by overheating-it is time to replace the item. Using degraded plastic increases the risk of chemical migration and food contamination, making a proactive replacement strategy a vital part of kitchen maintenance.
Organizing Containers for Maximum Kitchen Efficiency
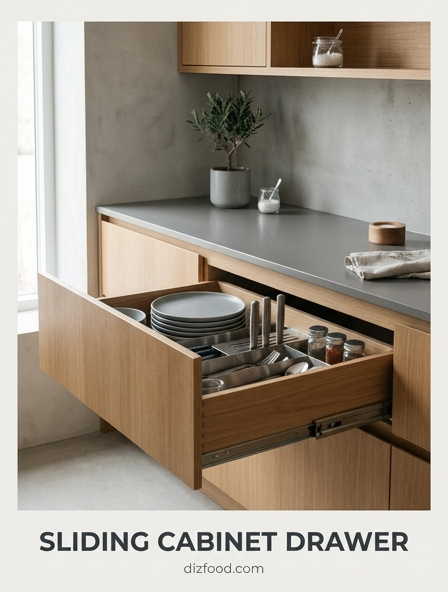
A chaotic container drawer is one of the most common sources of frustration in a kitchen. Achieving maximum efficiency requires a systematic approach to how containers and their matching lids are stored. The first step in any organization project is to pair every container with its corresponding lid, discarding any outliers that no longer have a match. This simple audit clears immediate clutter and ensures that when you are packing leftovers, you aren't hunting for a lid that doesn't exist.
To optimize space, utilize a nesting strategy. Group containers by shape-round, square, and rectangular-and stack them from largest to smallest. For lids, consider using a dedicated organizer or a small bin where they can be stored vertically like files. This "file-flipping" method allows you to see every lid at once, preventing the need to dig through a pile. If space is at a premium, tension rods or drawer dividers can be used to create custom sections for different sizes. By maintaining a structured system, you reduce the time spent on meal prep cleanup and make the most of your kitchen's available storage footprint, leading to a more streamlined and enjoyable cooking environment.
Optimal Cleaning Methods for Plastic Longevity
The way plastic containers are cleaned significantly impacts their lifespan and safety. While many modern plastics are labeled as dishwasher safe, the intense heat of the drying cycle can accelerate the aging process. To preserve the integrity of the resin, it is often best to wash containers by hand or place them strictly on the top rack of the dishwasher, away from the heating element. This prevents warping and reduces the risk of chemical breakdown over time.
- Use a soft sponge and mild dish soap to avoid creating micro-scratches on the surface.
- For stubborn stains from tomato sauce or turmeric, apply a paste of baking soda and water.
- To remove persistent odors, soak the container in a solution of equal parts water and white vinegar.
- Ensure containers are completely dry before stacking them to prevent the growth of mold or mildew.
Avoiding abrasive scouring pads is essential, as scratches provide a foothold for bacteria and make future cleaning more difficult. For greasy residues, a brief soak in warm soapy water is usually more effective and gentler than vigorous scrubbing. By following these careful cleaning protocols, you can keep your plasticware looking new and functioning safely for years.
Smart Labeling Systems for Meal Prep Success
Organization extends beyond just physical storage; knowing exactly what is inside each container is the key to successful meal prepping and reducing food waste. A smart labeling system transforms a freezer full of mystery blocks into a curated library of meals. The most effective systems are those that are easy to update and leave no sticky residue behind. Using modern labeling techniques ensures that everyone in the household knows the contents and the expiration dates of the stored items.
- Dry Erase Markers: Many plastic lids have a smooth surface that allows for writing directly on them; the ink wipes off easily with a cloth.
- Chalkboard Stickers: These reusable labels add a professional look and can be updated with a chalk pen.
- Dissolvable Labels: These are designed to wash away completely in the sink, leaving no adhesive "gunk."
- Masking Tape: A classic, budget-friendly option that is easy to peel off and replace.
Always include the name of the dish and the date it was prepared. For frozen items, adding a "use-by" date is also helpful. This level of detail prevents the common mistake of defrosting the wrong meal and ensures that the oldest food is consumed first, maximizing your kitchen's efficiency and food safety.
Stackable Storage Solutions for Small Kitchens
In smaller kitchens, vertical space is the most valuable asset. Stackable storage solutions are designed to exploit this height, allowing for a high density of food storage in a minimal footprint. When shopping for containers, prioritize modular sets. These are engineered to fit together perfectly, meaning a small container might sit securely atop two medium ones. This modularity prevents the "toppling tower" effect often seen with mismatched brands and shapes, creating a more stable and safer pantry environment.
Square and rectangular containers are generally more space-efficient than round ones because they sit flush against each other and utilize the corners of cabinets. For pantry staples like flour, sugar, and pasta, clear stackable canisters allow you to see inventory levels at a glance, reducing the likelihood of overbuying. If your cabinets have high shelves, consider using "pull-out" bins to house your stacked containers. This allows you to bring the stack to you rather than reaching into dark corners. By selecting containers that are specifically designed to nest and stack, you can transform even the most cramped kitchen into a highly organized and functional workspace, making the most of every square inch available.
Maintaining a Safe Rotation for Plasticware
Managing a collection of plastic food containers requires a proactive rotation strategy to ensure that only safe, high-quality items remain in use. This "First-In, First-Out" (FIFO) approach, commonly used in professional kitchens, can be adapted for home use to monitor the age and condition of your plasticware. Over time, even well-cared-for plastics can develop invisible wear that compromises their safety. Setting a regular schedule for an "inventory audit" allows you to identify which containers are reaching the end of their lifecycle.
| Frequency | Action | Goal |
|---|---|---|
| Every 3 Months | Match lids and bases | Eliminate clutter |
| Every 6 Months | Check for scratches/pitting | Ensure chemical safety |
| Annually | Replace heavily used items | Maintain set integrity |
During these audits, move older containers to the front of the shelf to ensure they are used (and thus monitored) more frequently. If a container shows any signs of distress-such as warping or discoloration-it should be rotated out of food use immediately. By treating your plasticware as a rotating inventory rather than a permanent fixture, you maintain a higher standard of food hygiene and kitchen safety.

Comments