
Mastering heat management is the bridge between a simple meal and a culinary masterpiece. It isn't just about high or low flames; it's about precision. Proper thermal control allows for the Maillard reaction to flourish, creating complex flavors and perfect sears while preventing the common pitfalls of scorching or uneven cooking. By maintaining the right temperature, you ensure that every ingredient reaches its peak potential in both texture and taste. This level of control is essential for executing specific methods properly, especially when deciding between the distinct approaches of Pan Frying Vs. Sautéing.
Mastering Oil Smoke Points
Understanding the smoke point of culinary fats is a fundamental aspect of kitchen heat management. The smoke point refers to the specific temperature at which an oil begins to break down chemically, producing visible bluish smoke and releasing acrid compounds like acrolein. When an oil exceeds this threshold, it loses its nutritional value and imparts a burnt, bitter flavor to the food. Choosing the correct fat depends entirely on the intended cooking method and the required temperature range.
- Refined Avocado Oil: High smoke point (approx. 520°F), ideal for searing and high-heat stir-frying.
- Extra Virgin Olive Oil: Moderate smoke point (approx. 375°F), best suited for low-heat sautéing and finishing.
- Clarified Butter (Ghee): Elevated smoke point (approx. 450°F) compared to standard butter due to the removal of milk solids.
- Refined Peanut Oil: High smoke point (approx. 450°F), a staple for deep-frying and high-velocity heat transfer.
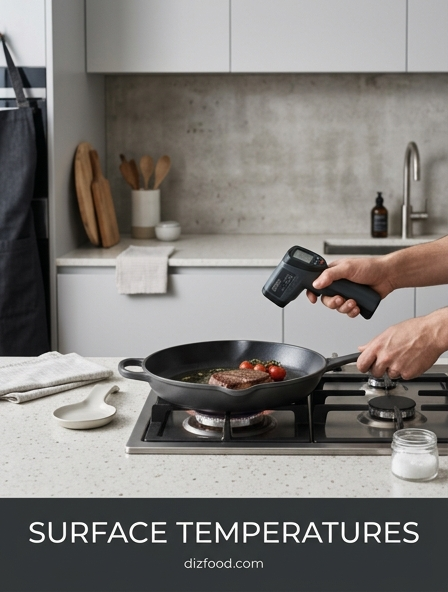
To maintain control, chefs must monitor pan temperatures using infrared thermometers or visual cues. Once an oil begins to shimmer, it is approaching its limit; once it smokes, the chemical structure is compromised, and the fat should be discarded to preserve the dish's integrity.
Optimizing the Maillard Reaction
The Maillard reaction is the chemical process responsible for the complex flavors and deep browning seen in seared meats, toasted bread, and roasted vegetables. This reaction occurs between amino acids and reducing sugars under the influence of heat. While it begins at lower temperatures, it accelerates significantly between 280°F and 330°F. Managing this process requires precise control over surface moisture and temperature to ensure that browning occurs without transitioning into carbonization.
- Surface Desiccation: Patting proteins dry with paper towels removes surface moisture that would otherwise consume thermal energy through evaporation.
- Temperature Regulation: Maintain a pan temperature high enough to trigger the reaction quickly but low enough to prevent the exterior from burning before the interior reaches the desired doneness.
- Ph Adjustment: Slightly increasing the alkalinity of the food surface can accelerate the Maillard reaction, often achieved with a pinch of baking soda in specific applications.
Proper heat management ensures that the crust develops a rich, savory profile. If the heat is too low, the food simmers in its own juices, resulting in a grey, unappealing texture. Conversely, excessive heat leads to bitterness as the sugars char beyond the flavorful Maillard stage.
Maintaining Constant Frying Temperatures
The secret to successful frying lies in the stability of the cooking medium's temperature. When cold food is submerged in hot oil, the temperature of the oil immediately drops. If this drop is too significant, the food will fail to form a protective steam barrier, leading to excessive oil absorption and a greasy final product. Maintaining a constant temperature requires a balance between the heat source's power and the volume of the product being cooked at any given time.
- Preheating: Always heat the oil 15 to 20 degrees above the target frying temperature to account for the initial thermal shock.
- Batch Sizing: Avoid overcrowding the fryer; small batches allow the heating element to compensate for temperature loss more effectively.
- Consistent Monitoring: Use a clip-on candy thermometer or a digital probe to track fluctuations in real-time.
- Oil Volume: Utilizing a larger volume of oil provides higher thermal mass, which resists rapid temperature changes when ingredients are added.
By keeping the oil between 350°F and 375°F, the moisture within the food turns to steam rapidly, creating an internal pressure that pushes outward. This pressure prevents the oil from penetrating the food's surface, ensuring a crisp exterior and a moist interior.
Thermal Conductivity in Cookware
Thermal conductivity determines how efficiently and evenly heat travels from the burner to the food. Different materials possess varying degrees of conductivity and heat retention, which dictates their suitability for specific culinary tasks. A chef must choose cookware that aligns with the heat management needs of the recipe, whether that requires rapid response to temperature changes or steady, long-term heat storage.
| Material | Conductivity | Best Use Case |
|---|---|---|
| Copper | Excellent | Delicate sauces and sugar work requiring instant control. |
| Aluminum | High | General sautéing and professional restaurant line work. |
| Cast Iron | Low | High-heat searing and maintaining heat for long periods. |
| Stainless Steel | Moderate | Versatile all-purpose cooking, often clad with aluminum. |
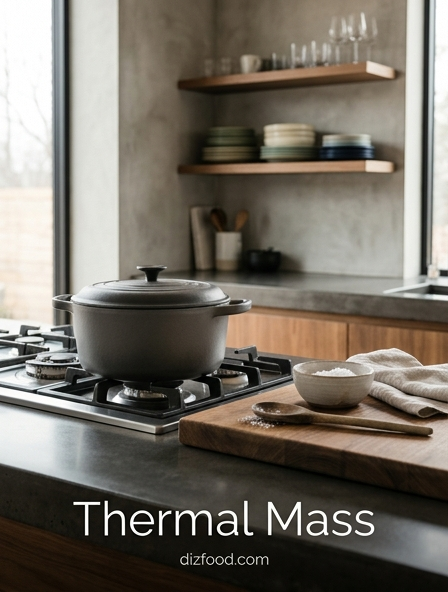
High conductivity materials like copper react almost instantly to adjustments of the flame, allowing for precision. Low conductivity materials like cast iron take longer to heat up but provide a massive reservoir of energy, making them ideal for searing heavy steaks where a constant, intense surface temperature is required to overcome the cooling effect of the meat.
Avoiding Oil Absorption and Sogginess
Sogginess in fried foods is almost always the result of poor heat management. When the temperature of the frying oil falls below the threshold required to vaporize the food's internal moisture, the resulting drop in steam pressure allows oil to seep into the pores of the ingredient. This results in a heavy, oil-logged texture rather than a light, crisp shell. To prevent this, the heat must be managed to maintain a vigorous "boil" of steam escaping the food.
- Maintain Heat: Keep oil temperatures consistently above 325°F to ensure continuous steam production.
- Drainage: Immediately place fried items on a wire rack rather than a flat paper towel to prevent the bottom from steaming and softening.
- Batter Consistency: Use cold liquids or carbonated water in batters to create a leavened structure that sets quickly before oil can penetrate.
- Flour Coating: Ensure a light, even coating of starch to create a barrier that crisps instantly upon contact with heat.
The goal is to create a physical barrier through rapid dehydration of the food's surface. If the heat is managed correctly, the oil remains on the outside, acting only as a heat transfer medium rather than an ingredient absorbed into the dish.
Precision Control for Even Searing
Achieving an even sear across the entire surface of a protein requires a combination of flat surface contact and consistent heat distribution. Heat management in this context involves preventing "cold spots" in the pan that result in uneven browning. This is particularly important for large cuts of meat or delicate fish fillets where the presentation side must be flawless. Achieving this level of precision demands attention to both the equipment and the technique used during the initial contact phase.
- Pan Preheating: Allow the cookware to reach equilibrium across its entire surface before adding oil or food.
- Weight Application: Use a kitchen weight or press to ensure that the entire surface of the food makes direct contact with the hot metal.
- Oil Movement: Swirl the oil just before adding the food to ensure the film is at a uniform temperature.
- Tempering Food: Allow proteins to sit at room temperature for a short period to reduce the thermal gradient between the food and the pan.
By managing these variables, the chef ensures that the thermal energy is transferred uniformly. This prevents sections of the food from being overcooked or scorched while other areas remain pale and under-developed, resulting in a professional, high-quality finish.
Protecting Essential Flavor Profiles
Excessive heat is the enemy of delicate flavor compounds, particularly in herbs, spices, and unrefined oils. Many aromatic molecules are volatile, meaning they evaporate or degrade when exposed to high temperatures for extended periods. Heat management for flavor protection involves knowing when to apply heat for extraction and when to withhold it to prevent the loss of nuance. Overheating can transform a bright, floral profile into something flat, metallic, or unpleasantly toasted.
- Blooming Spices: Use low to moderate heat to release essential oils in dry spices without burning the delicate particulates.
- Finishing Oils: Apply cold-pressed oils like walnut or high-quality extra virgin olive oil only after the food has been removed from the heat source.
- Fresh Herbs: Add soft-stemmed herbs like cilantro or basil at the very end of the cooking process to preserve their color and bright aroma.
- Butter Management: Use "beurre noisette" techniques to toast milk solids, but stop the process with a splash of acid to prevent turning to bitter black butter.
Strategic heat application ensures that the primary ingredients are cooked while the secondary flavor enhancers remain vibrant. Mastering the timing of heat exposure is just as critical as the intensity of the heat itself.
Preventing Heat Related Oil Degradation
When oil is subjected to prolonged high heat, it undergoes several chemical changes that compromise its quality: oxidation, polymerization, and hydrolysis. These processes lead to the formation of free fatty acids and polar compounds, which darken the oil, increase its viscosity, and eventually produce "off" flavors. Effective heat management involves minimizing the time the oil spends at peak temperatures and protecting it from catalysts that accelerate breakdown.
- Filter Regularly: Remove carbonized food particles that act as focal points for heat and accelerate oil darkening.
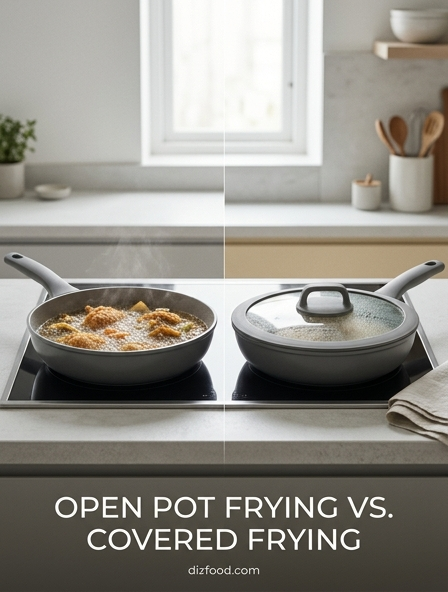
- Cover When Idle: Reduce the heat during service lulls and cover the oil to limit oxygen exposure, which prevents rapid oxidation.
- Salt Awareness: Avoid salting foods directly over the fryer, as salt acts as a catalyst for oil breakdown.
- Replenishment: Frequently "top off" the fryer with fresh oil to dilute the concentration of degraded polar compounds.
By managing the thermal lifecycle of the oil, a kitchen can extend the life of its fats while maintaining the flavor integrity of the food. Once oil begins to foam or becomes excessively dark, it has reached its thermal limit and must be replaced to ensure food safety and quality.
Managing Thermal Recovery Times
Thermal recovery time is the duration required for a cooking surface or oil vat to return to its target temperature after food has been introduced. In a high-volume professional kitchen, managing these windows is vital for consistency and speed. If recovery times are too long, the kitchen falls behind, and food quality suffers due to lingering in sub-optimal temperatures. Understanding the relationship between the heat source's BTU output and the thermal mass of the equipment is key.
| Factor | Impact on Recovery | Management Strategy |
|---|---|---|
| Food Mass | Heavier loads slow recovery. | Fry in smaller, standardized increments. |
| Initial Temp | Frozen foods extend recovery. | Thaw or temper items whenever safe. |
| BTU Power | Higher output speeds recovery. | Match burner intensity to batch size. |
| Oil Volume | More oil buffers the drop. | Use deep-well fryers for consistent loads. |
Chefs must allow a brief "rest" period between batches to let the temperature stabilize. Rushing the next batch before the equipment has recovered leads to a cumulative temperature deficit, which ultimately ruins the texture of the fried or seared items.
Safety Standards for Professional Frying
Heat management is not only a matter of flavor but also of critical safety. Dealing with large volumes of oil at high temperatures presents risks of flash fires and severe burns. Professional standards require strict adherence to temperature limits and the physical environment surrounding the heat source. Understanding the difference between the smoke point, flash point (where vapors can ignite), and fire point (where the oil sustains combustion) is essential for every kitchen worker.
- Ice and Moisture Control: Ensure all foods are free of excess ice crystals or water, as moisture causes violent steam explosions in hot oil.
- Flash Point Awareness: Never leave oil unattended; most culinary oils reach their flash point at approximately 600°F.
- Equipment Maintenance: Regularly calibrate thermostats to prevent "runaway" heating elements that could bypass safety shut-offs.
- Proper Filling: Maintain oil levels between the minimum and maximum lines to prevent overflowing when food displaces the liquid.
By implementing these safety protocols, a kitchen minimizes the risk of thermal accidents. Proper heat management ensures that the energy remains focused on the food, providing a controlled and productive environment for high-temperature culinary techniques.

Comments