
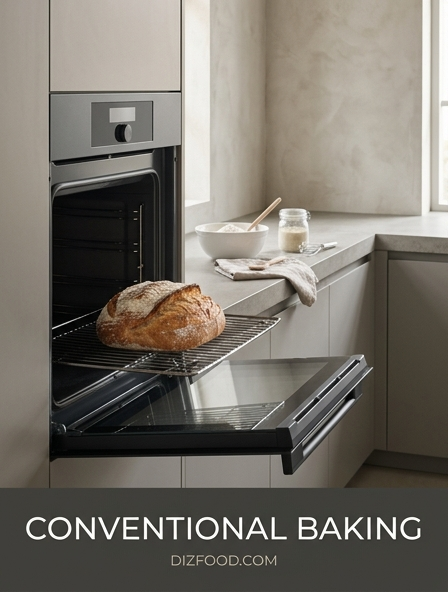
Calibrating Oven Temperature Accuracy
Achieving consistent results in conventional baking begins with understanding that the temperature displayed on your oven's digital interface rarely matches the actual internal environment. Internal thermostats can drift over time due to wear or sensor fatigue, leading to cakes that sink or cookies that burn. To rectify this, every home baker should utilize a dedicated oven thermometer. This simple tool provides a real-time reading of the ambient air temperature, allowing you to adjust the dial accordingly to reach the true thermal target required by your recipe.
Calibration is not a one-time event but a seasonal maintenance task. You should test several zones within the oven, as heat is rarely distributed with perfect uniformity. By identifying whether your oven runs hot or cold, you can prevent common failures related to under-baking or over-caramelization. Consider the following steps for a successful calibration check:
- Place the thermometer in the center of the middle rack for the most relevant reading.
- Allow the oven to cycle on and off for at least 30 minutes to reach thermal equilibrium.
- Compare the thermometer reading against the oven's set temperature.
- Note the variance and manually adjust your temperature settings for all future baking sessions.
Optimal Oven Rack Placement
The positioning of your racks is a fundamental yet often overlooked aspect of heat management. In a conventional oven, heat rises and concentrates at the top, while the heating element at the bottom provides intense direct energy. The middle rack is the default for most goods because it offers the most balanced exposure to both radiant and convective heat. However, specific recipes benefit from strategic placement to achieve desired textures, such as a crisp bottom crust or a deeply browned top.
Understanding the vertical zones of your oven allows you to manipulate how the heat interacts with your bakeware. Moving a tray just a few inches higher or lower can drastically alter the final product's moisture content and surface color. Refer to the table below for standard placement guidelines:
| Rack Position | Ideal Baked Goods | Primary Heat Goal |
|---|---|---|
| Top Third | Casseroles, Meringues | Surface browning and gratin effects |
| Middle | Cakes, Cookies, Brownies | Uniform heat and even rising |
| Bottom Third | Pizzas, Pie Crusts, Breads | Crispy bases and structural integrity |
Essential Preheating Protocols
Preheating is more than a suggestion; it is a chemical necessity for leavening agents to function correctly. When dough or batter enters a cold oven, the slow rise in temperature prevents the rapid expansion of gases produced by baking powder, soda, or yeast. This results in a dense, heavy texture rather than a light, airy crumb. Furthermore, many ovens signal they are preheated long before the walls and air have actually reached a stable temperature, as the sensor only measures the air near the element.
To ensure your oven is truly ready, you must allow for "heat saturation." This means letting the oven run for an additional fifteen minutes after the initial beep. This stabilizes the radiant heat coming from the oven walls, which helps maintain the temperature even when the door is momentarily opened. Follow these protocols for every bake:
- Initiate the preheat cycle at least 20 to 30 minutes before the pans go in.
- Verify the internal temperature using a secondary thermometer.
- Avoid placing items inside during the preheating phase to prevent uneven scorching.
- Ensure all racks are positioned correctly before starting the heating process.
Selecting Proper Bakeware Materials
The material of your pans significantly influences how heat is conducted into your food. Conventional ovens rely on a mix of radiant and conductive heat, and different surfaces react uniquely to these forces. Shiny aluminum is a favorite among professional bakers because it reflects heat, leading to even browning and preventing the bottoms of cookies from scorching. Conversely, dark or non-stick metals absorb heat more aggressively, which can lead to over-browning if the oven temperature is not lowered slightly.
Glass and ceramic are poor conductors but excellent insulators. They take longer to heat up but retain heat for a significant duration once they are hot. These materials are ideal for slow-baked items like bread puddings or deep-dish savory pies, where a gentle, sustained heat is required to cook the center without drying out the edges. Consider these material characteristics:
- Aluminum: Excellent conductivity; produces light, golden crusts.
- Insulated Pans: Slow heat transfer; prevents browning on delicate shortbreads.
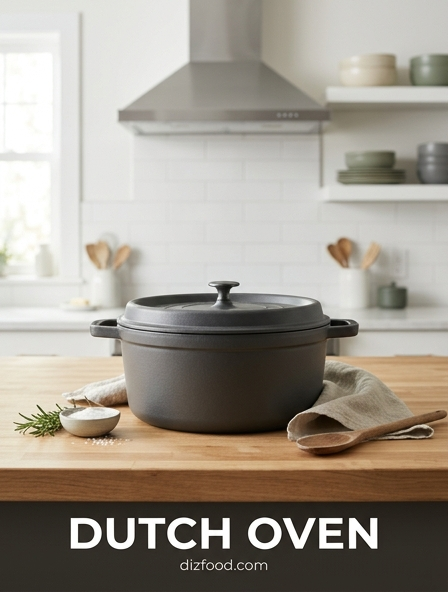
- Cast Iron: High heat retention; perfect for crusty breads and Dutch oven bakes.
- Silicone: Poor heat conductor; requires longer baking times and yields softer edges.
Ensuring Proper Air Circulation
In a conventional oven, air movement is driven by natural convection, where hot air rises and cooler air falls. If the oven is overcrowded, this natural flow is disrupted, creating pockets of stagnant, cool air and areas of intense, trapped heat. For items to bake evenly, there must be a minimum of one to two inches of space between the pans and the oven walls, as well as between multiple pans on the same rack. Without this gap, the edges of your baked goods may burn while the centers remain raw.
When baking on multiple levels, it is crucial to stagger the pans. Placing one pan directly above another blocks the heat from reaching the bottom of the top pan and the top of the bottom pan. By offsetting them, you allow the heat to navigate the interior space more efficiently. To optimize airflow, consider the following rules:
- Limit the number of pans to two per rack whenever possible.
- Use perforated trays for items that require maximum bottom-air contact.
- Avoid using oversized baking sheets that touch the sides of the oven.
- Ensure that cooling racks are not stored in the oven during the baking process.
Mastering Room Temperature Ingredients
The temperature of your ingredients is just as vital as the temperature of your oven. For conventional baking, recipes often call for "room temperature" butter, eggs, and milk to ensure proper emulsification. When ingredients are at a similar temperature, they combine into a smooth, homogenous batter that can trap air effectively during the creaming process. If cold eggs are added to creamed butter and sugar, the fat will coagulate, causing the batter to break and leading to a finished product with a coarse, oily texture.
Achieving the correct temperature requires planning, as items like butter can take up to an hour to soften naturally. Room temperature usually falls between 65°F and 70°F. At this stage, butter should be pliable enough to hold an indentation when pressed but not so warm that it appears greasy or melted. Key benefits of utilizing temperate ingredients include:
- Improved volume through better air retention in the fat structure.
- More consistent baking times since the oven doesn't have to work to warm the batter first.
- Uniform crumb structure without large, irregular holes.
- Easier incorporation of dry ingredients into the wet base.
Rotating Pans for Even Browning
Most conventional ovens suffer from "hot spots," which are specific areas-usually the back corners or near the heating elements-where the temperature is significantly higher than the average. These hot spots can cause one side of a cake to rise higher than the other or result in a tray of cookies where half are perfect and half are burnt. To mitigate these inherent mechanical flaws, the practice of rotating pans halfway through the baking cycle is essential for professional-quality results.
The rotation should be two-fold: a 180-degree turn of the pan itself and, if using multiple racks, a swap between the top and bottom positions. However, timing is critical. You must wait until the structure of the baked good is "set"-usually after at least two-thirds of the baking time has elapsed-to avoid collapsing delicate items like sponges or soufflés. Follow this sequence for the best results:
- Identify the halfway point of the recommended baking duration.
- Open the door quickly but gently to minimize heat loss.
- Rotate the pan 180 degrees so the front faces the back.
- Move the bottom tray to the top rack and vice versa if applicable.
Accurate Doneness Testing Methods
Relying solely on the timer is a frequent mistake in conventional baking. Factors such as humidity, ingredient temperature, and oven variance mean that a recipe's time range is merely an estimate. To ensure accuracy, bakers must employ multiple testing methods. The visual check is the first step, looking for "GBD"-golden brown and delicious-and checking if the edges of a cake have begun to pull away slightly from the sides of the pan. Physical cues, such as the "spring-back" test, involve gently pressing the center to see if it recovers its shape.
For the most scientific approach, an instant-read thermometer is the gold standard, especially for breads and thick cakes. While the traditional toothpick test is useful for detecting wet batter, it cannot tell you if the internal structure has fully gelatinized. Use the table below for common internal temperature targets:
| Baked Item | Test Method | Target Indicator |
|---|---|---|
| Lean Yeast Bread | Thermometer | 190°F - 210°F |
| Sponge Cakes | Touch / Toothpick | Springs back / Clean toothpick |
| Custard Pies | Jiggle Test | Slight wobble in the center only |
| Cookies | Visual | Set edges, soft but matte centers |
Minimizing Heat Loss During Baking
Every time the oven door is opened, the internal temperature can drop by as much as 25 to 50 degrees Fahrenheit. In a conventional oven, which relies on the recovery of heated air, this loss can significantly extend baking times and interfere with the rising process. Maintaining a stable environment is particularly crucial for temperature-sensitive items like macarons, eclairs, or cheesecakes. The key is to treat the oven door as a seal that should only be broken when absolutely necessary for testing or rotating.
To keep the heat where it belongs, use the oven light and window to monitor progress visually rather than "peeking" by opening the door. If you must open the door, do so with a clear plan and move quickly. Ensuring your oven door gasket is clean and intact is another vital step in preventing steady heat leakage. To minimize disruptions, observe these habits:
- Prepare your cooling racks and mitts before you need to check the food.
- Only open the door in the final quarter of the baking time.
- Double-check that the door is fully latched after every interaction.
- Clean the glass window regularly to ensure clear visibility without opening.
Understanding Radiant Heat Distribution
Conventional ovens operate primarily through radiant heat, where the heating elements at the top and bottom radiate infrared energy directly onto the bakeware. Unlike convection ovens, which use fans to circulate air, conventional models rely on the air naturally heating and moving in currents. This creates a vertical temperature gradient where the top of the oven is consistently hotter than the bottom. Understanding this hierarchy allows you to troubleshoot why certain items may be browning too quickly on the bottom while remaining pale on top.
The intensity of radiant heat is also affected by the distance between the food and the element. Placing a tray too close to the bottom element will cause rapid caramelization of sugars, which is why thick bakes should be elevated. To master this distribution, consider how the heat waves interact with your setup:
- Recognize that the oven walls act as heat reservoirs, radiating energy back toward the center.
- Use a baking stone to add thermal mass, which helps even out radiant fluctuations.
- Be aware that radiant heat travels in straight lines; any shielding (like foil) will block it.
- Match the rack height to the thickness of the item to balance top and bottom exposure.

Comments