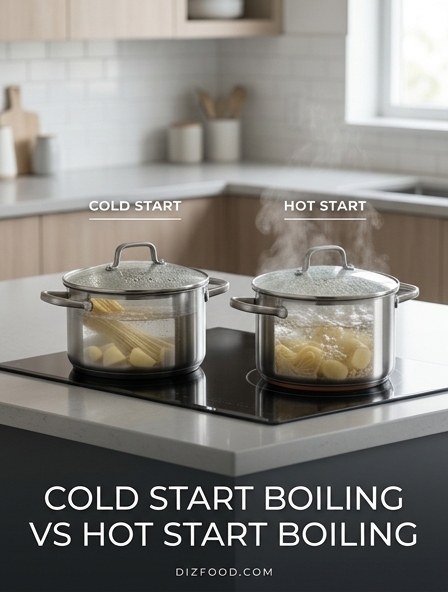
Whether you are a home cook or a culinary enthusiast, the debate between cold start and hot start boiling can fundamentally change the texture and flavor of your dishes. A cold start involves placing your ingredients in a pot of cool water and bringing them to temperature together, a method that allows heat to penetrate deeply and evenly-perfect for creamy root vegetables or easy-to-peel eggs. Conversely, the hot start method requires plunging food into already boiling water, which immediately shocks the exterior to preserve structural integrity, vibrant colors, and that desirable "al dente" bite for pasta and green vegetables. Choosing the right technique isn't just about timing; it's about understanding how heat transfer affects starch and protein, ensuring your kitchen results move from guesswork to professional-grade precision.
| Feature | Cold Start Method | Hot Start Method |
|---|---|---|
| Primary Goal | Uniform heat penetration and even cooking. | Instant sear/shock to preserve texture. |
| Best For | Potatoes, beets, dried beans, soft eggs. | Pasta, green veggies, hard-boiled eggs. |
| Texture Result | Creamy, soft, and fully gelatinized starch. | Firm, crisp, and structurally sound. |
| Egg Peeling | High success (membrane pulls from shell). | Reliable (thermal shock loosens whites). |
| Timing Precision | Variable (depends on stove power). | High (timer starts at immersion). |
| Energy Use | Efficient (no heat lost during wait). | Higher (requires sustained pre-boil). |
The Science Behind Cold Start vs Hot Start Boiling
The fundamental difference between cold and hot start boiling lies in the rate of heat transfer and the thermodynamic equilibrium established between the water and the food. In a hot start, the ingredient is subjected to an immediate thermal shock. This causes the exterior cells to cook rapidly, creating a temperature gradient where the surface reaches the boiling point long before the core. This method is often preferred when the goal is to set the exterior quickly or to minimize the total time the food spends submerged in water, thereby reducing the leaching of flavors into the liquid.
Conversely, a cold start allows the food and the water to rise in temperature simultaneously. This gradual increase facilitates a more uniform heat distribution throughout the ingredient. From a molecular perspective, the cold start allows for certain enzymatic activities to occur before the temperatures reach a level that denatures those enzymes. For instance, in certain vegetables, this gradual heating allows pectin methylesterase to strengthen the cell walls, preventing the food from turning mushy. The kinetic energy increases slowly, ensuring that the internal temperature of dense items tracks closely with the surrounding medium.
- Thermal Gradient: High in hot starts, low in cold starts.
- Cellular Impact: Rapid expansion in hot starts vs. gradual expansion in cold starts.
- Enzymatic Window: Prolonged in cold start methods, bypassed in hot start methods.
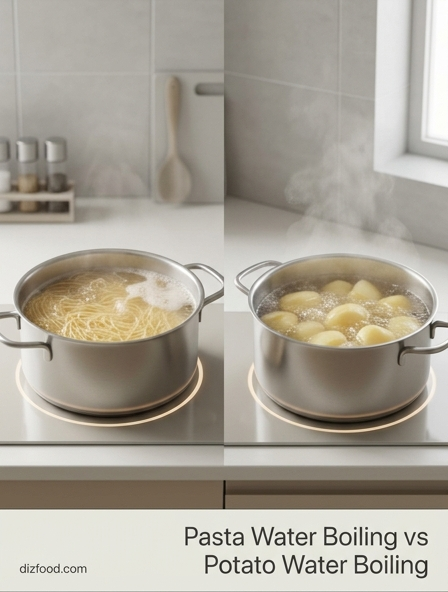
Comparing Pasta Quality in Cold and Hot Water Starts
Traditional culinary wisdom dictates that pasta must always be added to a rolling boil of salted water. The rationale is that the high heat immediately sets the starch on the surface of the noodle, preventing it from becoming gummy. However, modern culinary science has demonstrated that a cold start can produce surprisingly high-quality results while using significantly less water and energy. When pasta is started in cold water, it hydrates as the temperature rises, and provided it is stirred occasionally during the initial stages, the noodles do not clump significantly more than they would in a traditional boil.
The texture of cold-start pasta is often indistinguishable from hot-start pasta once cooked to al dente. One notable advantage of the cold start is the concentration of starch in the cooking water. Because less water is typically used, the resulting liquid is thick and opaque, making it a superior emulsifying agent for creating silkier pasta sauces. However, for certain delicate shapes or fresh egg pasta, the hot start remains superior as it ensures the structural integrity of the dough is locked in before the hydration process compromises the shape.
- Add pasta to a wide pan and cover with an inch of cold salted water.
- Bring to a boil while stirring occasionally to prevent sticking.
- Reduce to a simmer until the desired texture is achieved.
- Reserve the highly starchy water for sauce integration.
Why Root Vegetables Benefit from a Cold Start Method
Root vegetables like potatoes, carrots, and parsnips are dense and high in starch. Starting them in hot water is a common mistake that leads to an unevenly cooked product. When a potato is dropped into boiling water, the exterior cooks and begins to disintegrate while the center remains raw and hard. This is due to the low thermal conductivity of the vegetable; the heat cannot penetrate to the center fast enough to keep pace with the aggressive cooking of the outer layers. By the time the center is tender, the outside is overcooked and mealy.
A cold start solves this problem by narrowing the temperature delta between the surface and the core. As the water heats up, the vegetable warms through evenly. This is particularly important for mashed potatoes, where uniform starch gelatinization is key to a smooth texture. Furthermore, the gradual heating allows the starch granules to swell more slowly, which can result in a more cohesive bite if the vegetables are intended for a salad or a stew. The table below illustrates the typical outcomes of both methods for root crops.
| Feature | Cold Start | Hot Start |
|---|---|---|
| Exterior Texture | Intact and firm | Mushy or sloughing |
| Internal Doneness | Fully tender | Often undercooked |
| Starch Consistency | Uniformly gelatinized | Uneven starch breakdown |
Energy Consumption Analysis of Boiling Water Techniques
From an efficiency standpoint, the choice between cold start and hot start boiling can have a measurable impact on household energy consumption. A cold start is generally more energy-efficient for the total cooking process because it eliminates the "dead time" spent waiting for a large pot of water to reach a boil before adding ingredients. When ingredients are added to cold water, the thermal energy used to heat the water is simultaneously being used to begin the cooking process of the food. This dual-action heating reduces the total time the burner is active.
Furthermore, the cold start method typically encourages the use of less water. Traditional hot-start boiling often requires a large volume of water to ensure that the temperature doesn't drop too precipitously when the food is added. Heating five liters of water requires significantly more BTUs than heating two liters. By using just enough cold water to cover the food, the cook reduces the mass of the medium that needs to be heated. This not only saves energy but also reduces the amount of salt and seasoning required to flavor the cooking liquid.
- Reduced Volume: Less water equals faster heating and lower energy draw.
- Concurrent Heating: Food warms as water warms, shortening the total stove time.
- Lid Utilization: Keeping a lid on during the rise to boil in a cold start further traps latent heat.
Achieving Consistent Results with Hot Start Egg Boiling
For many years, the cold start was the standard for boiling eggs to prevent cracking. However, modern techniques favor the hot start-adding eggs directly to boiling or steaming water-for two primary reasons: peelability and precision. When an egg is heated slowly from a cold start, the proteins in the egg white (specifically the albumen) bond more strongly to the interior membrane of the shell. This makes the egg incredibly difficult to peel without tearing the whites. A hot start causes the proteins to denature and contract instantly, pulling away from the shell and creating a cleaner separation.
Precision is the second major factor. Cooking times for eggs are often measured in seconds; a six-minute egg provides a liquid yolk, while an eight-minute egg is jammy. In a cold start, the "cooking time" is variable because it depends on the power of the stove and the volume of water, making it nearly impossible to achieve a consistent result every time. By starting with water that is already at a fixed temperature (the boiling point), the cook establishes a reliable baseline. This ensures that a six-minute egg remains consistent whether you are cooking one egg or a dozen.
- Bring a pot of water to a rolling boil.
- Lower eggs gently into the water using a slotted spoon.
- Start the timer immediately upon immersion.
- Transfer eggs to an ice bath immediately after the timer ends to stop the cooking.
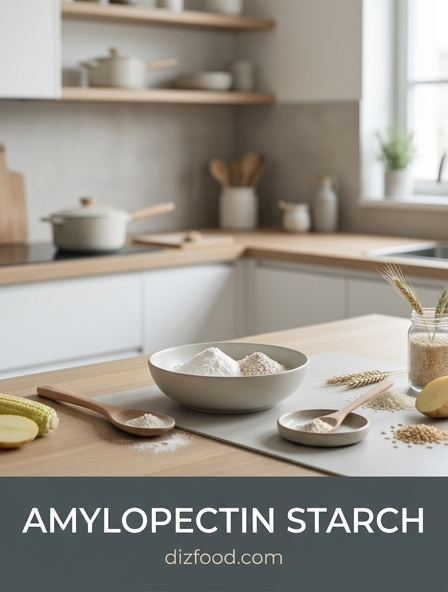
Starch Development and Texture in Cold Start Cooking
Starch behavior is highly sensitive to the rate of temperature increase. Starch granules undergo a process called gelatinization, where they absorb water and swell. In a cold start environment, this process begins at lower temperatures (roughly 140°F to 160°F). Because the temperature rises slowly, the starch granules have ample time to hydrate before they are subjected to the violent agitation of boiling water. This can lead to a different mouthfeel, particularly in grains and legumes, where a slow hydration period often results in a creamier texture without the exterior of the grain bursting.
In applications like cooking dried beans, a cold start is essential for softening the seed coat and allowing the interior starches to expand uniformly. If beans are dropped into boiling water, the sudden heat can cause the skins to split before the interior is hydrated, leading to a "blowout." The slow ramp-up of a cold start ensures that the moisture migrates through the entire structure of the food. This principle is also applied in the "risotto method" or "cold-start rice," where the goal is a specific balance between surface starch release and internal structural integrity.
The resulting texture in cold-start methods is often characterized by a more cohesive, integrated feel. This is highly desirable in porridges, stews, and certain types of pasta dishes where the released starches are intended to thicken the surrounding liquid into a cohesive sauce rather than being washed away as waste.
Total Cook Time Differences for Common Boiling Methods
When analyzing total cook time, it is important to distinguish between "active time" and "elapsed time." A hot start usually has a shorter elapsed cooking time once the food is in the pot, but a longer total preparation time because of the wait for the water to boil. For example, boiling a potato may take 15 minutes in a hot start, but you must first wait 10 minutes for the water to reach a boil, totaling 25 minutes. A cold start might take 22 minutes total from the moment the burner is turned on, representing a net time saving despite a longer duration of the food being in the water.
The efficiency of the method often depends on the surface-area-to-volume ratio of the food item. Smaller items with more surface area react more quickly to hot starts, whereas large, dense items are more time-efficient in cold starts because the heating of the water and the food happens simultaneously. The following table provides a comparison of estimated total times for common kitchen staples using both methods.
| Food Item | Hot Start (Inc. Boil Time) | Cold Start (Total Time) |
|---|---|---|
| Large Potatoes | 25-30 minutes | 20-22 minutes |
| Dry Pasta | 18-20 minutes | 12-15 minutes |
| Large Eggs | 15-18 minutes | 12-14 minutes |
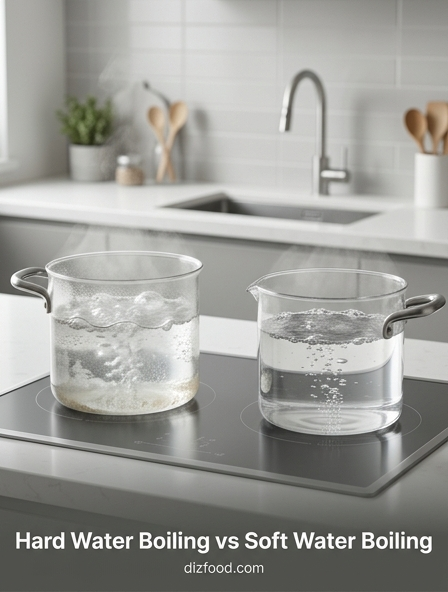
Impact of Initial Water Temperature on Nutrient Retention
Nutrient retention is a critical consideration in boiling, as many vitamins-particularly Vitamin C and the B-complex vitamins-are water-soluble and heat-sensitive. The hot start method is generally superior for preserving these nutrients in most vegetables. By plunging the vegetables into water that is already boiling, the cooking time is minimized. Shorter exposure to heat and water reduces the window in which vitamins can leach out into the cooking liquid. Furthermore, the high heat quickly deactivates enzymes like vitamin C oxidase, which would otherwise break down the vitamins during a slower heating process.
In contrast, a cold start keeps the vegetables in the water for a much longer period as the temperature climbs. This extended immersion allows more time for minerals and vitamins to migrate from the plant cells into the water. If the cooking water is discarded, as is common with boiled vegetables, the nutritional profile of the meal is significantly diminished. Therefore, cold starts should generally be reserved for items where the texture benefit outweighs the nutrient loss, or for soups and stews where the cooking liquid-and the nutrients within it-will be consumed as part of the dish.
- Hot Start: Better for water-soluble vitamin retention.
- Cold Start: Higher leaching rates; best if the liquid is retained.
- Enzyme Activity: Rapidly neutralized in hot start boiling.
When to Use Hot Start Boiling for Green Vegetables
Green vegetables such as broccoli, green beans, asparagus, and peas should almost exclusively be cooked using a hot start method. The primary goal when cooking these vegetables is to preserve their vibrant green color and crisp-tender texture. The green color comes from chlorophyll, which is highly sensitive to heat and acid. When green vegetables are heated slowly in a cold start, the cells eventually collapse and release organic acids. These acids react with the chlorophyll, turning it into pheophytin, which has an unappealing olive-drab color.
A hot start, particularly in a large volume of rapidly boiling water, accomplishes two things: it cooks the vegetable quickly before the acid reaction can take place, and it helps to dilute the organic acids released during the process. This "blanching" technique is often followed by a "shock" in ice water to stop the cooking immediately and lock in the color. Additionally, the rapid heat ensures that the cell walls remain somewhat rigid, providing that desirable "snap" when bitten. Cold starting a green vegetable almost inevitably results in a greyish, mushy product that lacks both visual appeal and structural integrity.
- Asparagus: 2-3 minutes in boiling water.
- Broccoli Florets: 3-4 minutes in boiling water.
- Snap Peas: 1-2 minutes in boiling water.
Optimizing Kitchen Workflow with the Right Boiling Style
In a professional or busy home kitchen, choosing the boiling method is as much about workflow as it is about chemistry. The hot start method requires more "front-loaded" attention; you must wait for the boil, then time the addition of ingredients precisely. This is ideal for short-order tasks where the cook is standing at the stove. It allows for high-precision timing, which is vital when multi-tasking several components of a dish that must all be finished at the same moment.
The cold start method is a "set it and forget it" approach that benefits a different kind of workflow. Because you start with everything in the pot, you can turn on the heat and walk away to perform other prep tasks while the water and food come to temperature together. This is highly effective for bulk prep, such as boiling potatoes for a large batch of salad or preparing grains for the week. By understanding which items benefit from which method, a cook can better manage the limited real estate of the stovetop and ensure that various components of a meal are ready for assembly without unnecessary downtime or overcooked ingredients.
Ultimately, the choice depends on the desired outcome: use hot start for precision, color, and nutrient retention in delicate items, and use cold start for even cooking of dense starches, energy efficiency, and concentrated cooking liquids.

Comments