
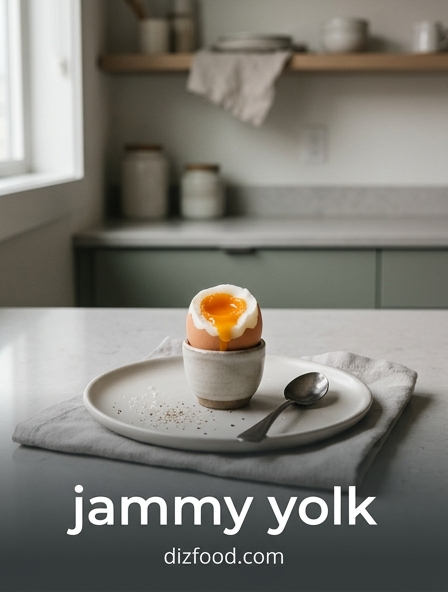
The Science Behind the Perfect Soft Boil
Achieving the elusive jammy yolk is a delicate dance of chemistry and thermodynamics. When an egg is heated, the proteins within the white and the yolk begin to denature and coagulate at different temperatures. Ovalbumin, the primary protein in egg whites, starts to set at approximately 145°F, becoming firm and opaque. In contrast, the lipids and proteins in the yolk require a slightly higher temperature to solidify. The goal of a soft boil is to maintain the internal yolk temperature between 145°F and 158°F, ensuring the whites are fully set while the center remains viscous and rich.
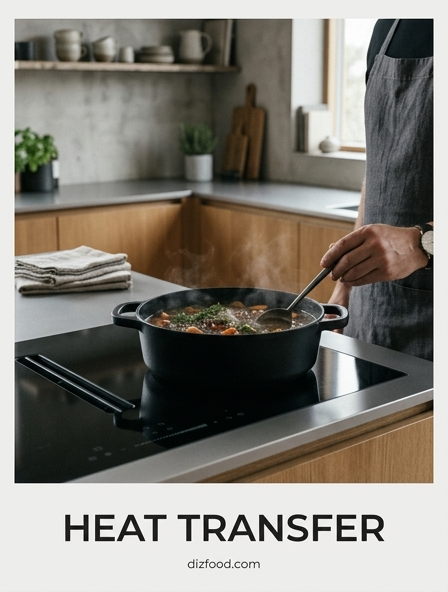
Heat transfer plays a critical role in this process. Because the heat must travel from the boiling water through the shell and the white to reach the yolk, timing becomes the ultimate variable. If the egg is left in the water too long, the yolk eventually reaches a state of full coagulation, resulting in a crumbly, pale yellow center. Understanding the thermal gradient allows a cook to manipulate the physical state of the egg, creating a luxurious, custard-like texture that serves as the centerpiece for various culinary applications.
Essential Kitchen Tools for Boiling Eggs
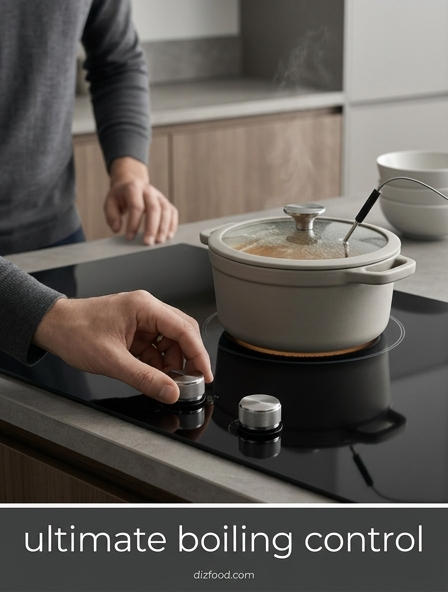
To produce consistent results every time you crave a jammy yolk, you must have the right equipment on hand. Precision is the enemy of guesswork, and a few specific tools will significantly increase your success rate. A heavy-bottomed saucepan is ideal as it retains heat evenly, preventing localized hot spots that might cause the eggshells to crack prematurely. Furthermore, a digital timer is non-negotiable; even thirty seconds can be the difference between a liquid center and a solid one.
The following items are essential for any home cook looking to master the soft-boiled egg:
- A medium-sized saucepan with a tight-fitting lid.
- A slotted spoon for gentle submersion and removal.
- A digital kitchen timer capable of counting seconds.
- A large mixing bowl for the ice bath.
- An instant-read thermometer to monitor water temperature if poaching.
Having these tools ready before you begin the boiling process ensures that you can transition the eggs quickly from the heat to the cooling stage, which is vital for stopping the cooking process at the exact moment the yolk reaches peak jamminess.
Room Temperature versus Cold Egg Starting Points
One of the most debated topics in egg cookery is whether to start with eggs directly from the refrigerator or to let them reach room temperature first. Starting with cold eggs is generally more convenient, but it increases the risk of the shell cracking due to thermal shock when placed in boiling water. Conversely, room temperature eggs allow for a more gradual increase in temperature, which can lead to more even cooking throughout the white and yolk. However, most standardized timing charts are calibrated for large eggs taken straight from the fridge.
The internal temperature of a cold egg is roughly 40°F, while a room temperature egg sits near 70°F. This 30-degree difference significantly impacts the total cook time. If you choose to use room temperature eggs, you must reduce your boiling time by approximately forty-five to sixty seconds to avoid overcooking. Regardless of the starting temperature, consistency is the most important factor. By choosing one method and sticking to it, you can refine your timing until you achieve the specific yolk viscosity you prefer for your breakfast or ramen dishes.
The Precise Timing for Jammy Yolks
Timing is the most critical element in the quest for the perfect jammy yolk. A few seconds can transform an egg from a runny mess to a firm, hard-boiled sphere. Most chefs agree that the "six-and-a-half-minute egg" is the gold standard for a jammy center, providing a fully set, tender white and a yolk that is thick but still flows slightly. Below is a reference guide for achieving various levels of doneness using the boiling water start method for large eggs.
| Time (Minutes) | White Consistency | Yolk Consistency |
|---|---|---|
| 6 Minutes | Soft and delicate | Liquid and runny |
| 6.5 Minutes | Fully set and opaque | Jammy and custardy |
| 7 Minutes | Firm and bouncy | Semi-set at edges |
| 8 Minutes | Very firm | Fudge-like and solid |
It is important to remember that altitude and the size of the egg can affect these times. If you live at a high elevation, water boils at a lower temperature, requiring a slightly longer duration to reach the desired level of protein coagulation.
Mastering the Ice Bath Technique
The cooking process does not stop the moment you lift the egg out of the boiling water. Residual heat trapped within the shell and the set whites will continue to cook the yolk, often pushing it past the jammy stage into a hard-boiled state. To prevent this "carryover cooking," an ice bath is an absolute necessity. This technique involves submerging the hot eggs immediately into a bowl filled with a mixture of cold water and ice cubes, which rapidly drops the temperature of the egg.
To execute the perfect ice bath, follow these steps:
- Prepare a bowl with 50% ice and 50% cold water while the eggs are boiling.
- Use a slotted spoon to transfer eggs directly from the pot to the bowl.
- Ensure the eggs are fully submerged to allow for even cooling.
- Leave the eggs in the cold water for at least three to five minutes.
- Crack the shells gently while they are still underwater to facilitate easier peeling.
This rapid cooling also helps to slightly shrink the egg inside the shell, creating a small pocket of steam and water that makes the peeling process significantly smoother and less damaging to the delicate whites.
Effortless Peeling Secrets for Smooth Eggs
Nothing is more frustrating than a perfectly timed soft-boiled egg that ends up torn and pitted during the peeling process. The difficulty of peeling is often linked to the pH level of the egg white. Fresh eggs have a lower pH, which causes the membrane to stick tightly to the shell. As eggs age, the pH increases, making them easier to peel. For this reason, eggs that have been in the refrigerator for a week are often better candidates for boiling than those purchased the same day.
Another secret is the "hot start" method. Dropping eggs into already boiling water, rather than starting them in cold water, shocks the membrane and causes it to pull away from the shell. Once the eggs have cooled in an ice bath, gently tap the bottom of the egg to crack the air pocket. Rolling the egg across a flat surface with light pressure creates a network of small cracks. Peeling under a thin stream of cool running water can also help lubricate the area between the membrane and the white, allowing the shell to slip off in large, satisfying pieces.
Marinating Soft Boiled Eggs for Authentic Ramen
In Japanese cuisine, the marinated soft-boiled egg, or Ajitsuke Tamago, is a vital component of a bowl of ramen. The marinade not only seasons the egg but also cures the yolk slightly, giving it a deeper color and a more intense, savory flavor. This process relies on osmosis, where the salt and soy sauce penetrate the outer layers of the egg while the sugars balance the acidity. The result is a jammy yolk that has a slightly tacky, translucent quality that is highly prized by enthusiasts.
A typical marinade includes the following components:
- Soy sauce for saltiness and deep umami.
- Mirin or sugar for a hint of sweetness and shine.
- Water or dashi to dilute the intensity.
- Aromatics like ginger, garlic, or star anise.
- A splash of rice vinegar for brightness.
For the best results, submerge the peeled, soft-boiled eggs in the cooled marinade for at least four hours, though overnight is ideal. Using a paper towel on top of the floating eggs ensures they stay fully submerged, resulting in an even, mahogany-colored exterior and a perfectly seasoned jammy center.
Elevating Your Morning Toast with Jammy Yolks
The jammy yolk is perhaps most at home atop a thick slice of toasted artisanal bread. Unlike a fried egg, which can be greasy, or a hard-boiled egg, which can be dry, the soft-boiled egg provides a built-in sauce that coats the toast without making it soggy. Sourdough is an excellent choice for this pairing, as its structural integrity and slight tanginess complement the richness of the yolk. When the egg is sliced open, the golden center spills out, mingling with other toppings to create a complex flavor profile.
To elevate this simple meal, consider adding textures and seasonings that contrast with the creamy yolk. A thin layer of mashed avocado provides a fatty base, while a sprinkle of flaky sea salt and red pepper flakes adds essential crunch and heat. Some prefer a drizzle of chili oil or a dusting of za'atar for an earthy depth. The key is to keep the toast warm so that when the cool or room-temperature jammy egg is placed on top, the heat from the bread maintains the ideal eating temperature, creating a luxurious breakfast experience.
Common Boiling Mistakes and How to Avoid Them
Even experienced cooks can encounter issues when boiling eggs, but most mistakes are easily avoidable. One of the most common errors is overcrowding the pot. When too many eggs are added at once, the water temperature drops significantly, throwing off the timing and leading to inconsistent results. It is better to cook in smaller batches or use a larger vessel to ensure the water returns to a boil quickly. Another mistake is using a vigorous, rolling boil, which can cause the eggs to bounce against each other and crack.
Skipping the ice bath is another frequent pitfall. Without rapid cooling, the yolk continues to cook, and you may find a thin green or grey ring around the yolk-a sign that the sulfur in the whites has reacted with the iron in the yolk due to overexposure to heat. Finally, failing to use a timer and "eyeballing" the process is a recipe for disappointment. Because the window for a perfect jammy yolk is so narrow, precision is your best tool for avoiding the rubbery whites or chalky centers that plague many home-cooked eggs.
Serving Suggestions for the Ultimate Egg Experience
While the jammy yolk is a star in its own right, its versatility allows it to shine across many different culinary contexts. Beyond toast and ramen, these eggs can be used to add protein and richness to a variety of dishes. For a Mediterranean-inspired lunch, serve a halved soft-boiled egg alongside a salad of bitter greens, olives, and feta cheese. The creaminess of the yolk acts as a natural dressing, balancing the sharp flavors of the vegetables. They also make an excellent addition to grain bowls, where the yolk can be stirred into quinoa or farro.
When plating for guests, presentation can enhance the experience. Slice the eggs vertically using a sharp, dampened knife or a piece of unflavored dental floss to ensure a clean cut through the jammy center. Place them on a platter and garnish with fresh herbs such as chives or dill. For a sophisticated appetizer, serve them "nestled" on a bed of smoked salmon or smeared with a touch of truffle butter. Whether served simply with a pinch of black pepper or integrated into a complex meal, the jammy yolk remains a symbol of simple culinary perfection.

Comments