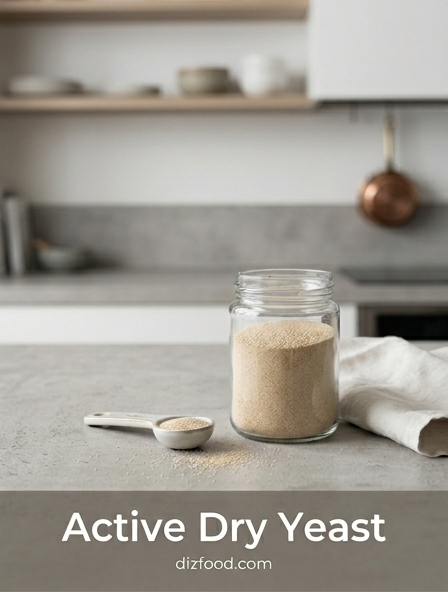
Understanding Active Dry Yeast Basics
Active dry yeast is a fundamental leavening agent used by home bakers to produce airy, risen breads and pastries. This type of yeast consists of coarse, oblong granules that are living organisms in a dormant state. Unlike instant yeast, which can be mixed directly into dry ingredients, active dry yeast requires rehydration before it can be incorporated into a dough. The manufacturing process involves drying the yeast cells to a low moisture content, which forms a protective coating of dead yeast cells around the live ones. This allows the product to remain shelf-stable for significant periods without refrigeration, provided the seal remains intact.
- Composed of Saccharomyces cerevisiae.
- Requires "blooming" in warm liquid before use.
- Larger granules compared to instant or rapid-rise varieties.
- Longer shelf life than fresh cake yeast.
When used correctly, active dry yeast provides a slow, steady fermentation that helps develop complex flavors within the flour. It is the gold standard for traditional recipes that benefit from multiple rises, as its slower activity allows the gluten network to strengthen and mature over several hours in a controlled environment.
The Science of Yeast Activation
The process of activation, often referred to as blooming, is the biological transition of yeast from a dormant state to an active metabolic state. When the granules are submerged in a warm liquid, the protective outer shell of dead cells softens and dissolves, allowing water to penetrate the living core. Once the yeast cells absorb this moisture, they begin to respire and consume available sugars. This metabolic process results in the production of carbon dioxide gas and ethanol, which are essential for creating the structure and aroma of the bread.
The science relies heavily on osmotic pressure and enzymatic activity. As the yeast wakes up, enzymes like invertase and maltase begin breaking down complex carbohydrates into simple sugars. Without this initial hydration step, the yeast may remain trapped within its dry coating, leading to a poor rise or "yeast spots" in the finished loaf. This stage is also a diagnostic tool for the baker; if the liquid does not become foamy or produce a distinct yeasty aroma within ten minutes, the yeast is likely dead and the baking process should not continue with that batch.
Optimal Water Temperature for Proofing
Temperature is the most critical variable when working with active dry yeast. Because the yeast is a living fungus, it is highly sensitive to thermal extremes. If the water is too cold, the yeast will remain dormant and fail to produce gas. Conversely, if the water is too hot, the delicate cellular structures will be destroyed, effectively killing the organism before the dough is even mixed. Maintaining a precise window ensures that the yeast thrives and begins its fermentation cycle at an efficient pace.
| Temperature Range | Effect on Yeast |
|---|---|
| Below 70°F (21°C) | Dormant or very sluggish activity. |
| 105°F - 115°F (40°C - 46°C) | Ideal range for rehydration and blooming. |
| 120°F - 130°F (49°C - 54°C) | Yeast begins to suffer and die. |
| Above 140°F (60°C) | Instant thermal death point. |
Using a digital kitchen thermometer is the most reliable way to ensure the liquid is safe. If a thermometer is unavailable, the liquid should feel comfortably warm-similar to bath water-but never hot to the touch. Consistency in temperature leads to predictable rise times and better results.
The Role of Sugar in Fermentation
While yeast can eventually break down the starches found in flour, adding a small amount of sugar during the activation phase acts as a high-energy fuel source. This "jumpstarts" the fermentation process. Simple sugars like sucrose, honey, or agave are easily processed by the yeast cells, allowing them to produce carbon dioxide more rapidly. This gas becomes trapped in the protein matrix of the dough, creating the millions of tiny bubbles that constitute a light crumb. Beyond leavening, the interaction between sugar and yeast contributes significantly to the final aesthetic of the baked good.
As the yeast consumes the sugar, it produces alcohol and acids that enhance the flavor profile. Furthermore, the residual sugars that are not consumed by the yeast participate in the Maillard reaction during baking. This chemical reaction between amino acids and reducing sugars is what gives the bread its golden-brown crust and characteristic toasted aroma. However, bakers must be careful not to over-saturate the dough with sugar; excessively high sugar concentrations can actually draw moisture out of the yeast cells through osmosis, slowing down the fermentation process rather than speeding it up.
Checking Yeast Freshness and Vitality
Before investing time and ingredients into a full recipe, it is prudent to verify that your active dry yeast is still potent. Yeast is a perishable product that loses its vitality over time, especially if exposed to air, heat, or moisture. A simple proofing test can confirm whether the yeast is healthy enough to leaven a heavy dough. If the yeast fails this test, it is a clear sign that the package has expired or was stored improperly.
- Measure 1/2 cup of warm water (110°F) into a glass bowl.
- Stir in 1 teaspoon of sugar until dissolved.
- Sprinkle 2 1/4 teaspoons of active dry yeast over the surface.
- Wait 10 minutes without stirring the mixture.
- Look for a thick layer of foam and bubbles on the surface.
A healthy culture will expand significantly, often doubling the volume of the liquid in the bowl. If the water remains flat or only a few sparse bubbles appear, the yeast is weak. Using weak yeast will result in dense, flat bread that lacks the necessary structural integrity. Always check the "Best By" date on the packaging, but rely on the proofing test for the most accurate assessment of current vitality.
Achieving the Perfect First Rise
The first rise, or primary fermentation, is where the character of the dough is established. After the yeast has been activated and mixed with flour and salt, it begins the long process of inflating the gluten structure. To achieve a perfect rise, the dough should be placed in a lightly greased bowl to prevent sticking and covered with a damp cloth or plastic wrap to maintain humidity. This prevents a dry skin from forming on the dough, which would otherwise restrict its expansion and create a tough texture in the finished product.
During this phase, the goal is typically to let the dough double in size. This can take anywhere from one to three hours depending on the ambient temperature and the specific recipe. The baker should look for a rounded, domed appearance. A common test for readiness is the "poke test": gently press a finger into the dough; if the indentation remains and the dough doesn't immediately spring back, it has fermented sufficiently. This stage is vital not just for volume, but for developing the elasticity and extensibility needed for final shaping.
Temperature Controls for Consistent Texture
Managing the environment where the dough rests is just as important as the initial water temperature. Consistency in ambient temperature ensures that the yeast works at a steady rate, preventing the dough from over-proofing or under-proofing. Most bakers aim for a "warm, draft-free spot," which usually falls between 75°F and 85°F. Sudden shifts in temperature can cause the yeast to produce off-flavors or result in an uneven rise.
- The Oven Method: Place the dough in an unlit oven with the oven light turned on for gentle warmth.
- The Microwave Method: Boil a cup of water in the microwave, then place the dough bowl inside with the hot water to create a humid proofing chamber.
- Cold Fermentation: Place the dough in the refrigerator to slow down the yeast, which develops a deeper flavor over 12-24 hours.
By controlling these variables, you can manipulate the texture of the bread. A warmer rise typically produces a softer, lighter crumb, while a slower, cooler rise results in a chewier texture with larger, irregular air pockets, often seen in artisanal sourdoughs or baguettes.
Common Mistakes in Dough Fermentation
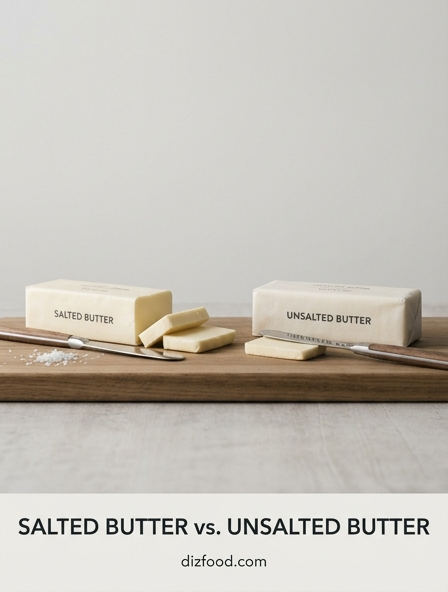
Even experienced bakers encounter issues when working with active dry yeast. One of the most frequent errors is the direct contact between yeast and salt. While salt is necessary for flavor and for controlling the rate of fermentation, adding it directly onto the yeast during the blooming phase can dehydrate and kill the cells. It is best to mix salt into the flour before combining it with the yeast mixture. Another common mistake is impatience; rushing the rise by placing the dough in an excessively hot area can lead to a "yeasty" or sour taste and a weak internal structure.
- Using tap water with high chlorine levels, which can inhibit yeast growth.
- Using an oversized bowl that doesn't allow the dough to support its own weight.
- Over-proofing the dough, leading to a collapse in the oven.
- Failing to properly seal the dough, causing it to dry out and form a crust.
Understanding these pitfalls allows for better troubleshooting. If a dough isn't rising, consider if the environment is too drafty or if the yeast was simply too old. Most fermentation failures are the result of temperature mismanagement or expired ingredients rather than poor technique.
Proper Storage for Long-Term Potency
The longevity of active dry yeast is entirely dependent on how it is stored once the original packaging is opened. Exposure to oxygen, heat, and moisture are the primary enemies of yeast viability. An unopened vacuum-sealed brick or packet can last for a year or more at room temperature, but once the seal is broken, the yeast begins to degrade. For domestic kitchens, the goal is to keep the granules in a dormant, dry state for as long as possible.
| Storage Location | Estimated Shelf Life (Opened) | Best Practices |
|---|---|---|
| Pantry | 1 Month | Keep in a dark, cool, airtight jar. |
| Refrigerator | 4 - 6 Months | Seal tightly to prevent moisture absorption. |
| Freezer | 1 Year+ | Use a freezer-safe bag; no need to thaw before use. |
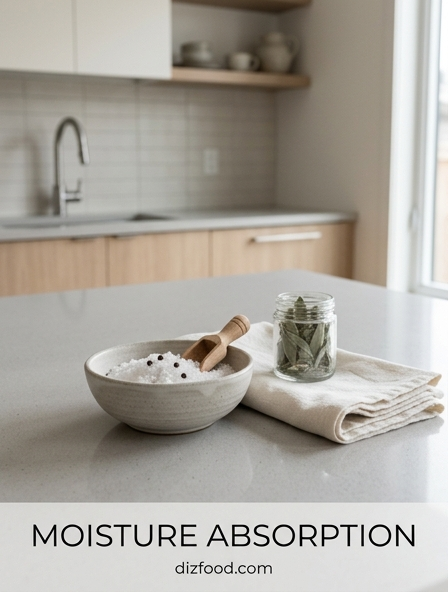
When storing in the freezer, the yeast does not actually freeze solid because of its low moisture content; it simply enters a deep dormancy. You can measure it straight from the freezer into your warm proofing liquid. Always ensure the container is airtight, as yeast is hygroscopic and will readily absorb odors and moisture from the fridge environment.
Mastering the Bulk Fermentation Stage
Bulk fermentation is the stage where the dough undergoes its first rise as a single mass. This is often the longest part of the bread-making process and is where the vast majority of the flavor is generated. As the yeast consumes sugars, it releases carbon dioxide, which is trapped by the gluten strands developed during kneading. Mastering this stage requires an understanding of dough "strength." The dough should not only increase in volume but also become more cohesive and easier to handle as the fermentation progresses.
During bulk fermentation, many bakers perform "folds" instead of a traditional punch-down. Gently folding the dough over itself every 30 minutes helps to redistribute the yeast and its food source while equalizing the temperature throughout the mass. This technique also strengthens the gluten network without degassing the dough entirely. Success in this stage is achieved when the dough feels alive-bouncy, full of gas, and smelling slightly sweet and fermented. Once the bulk fermentation is complete, the dough is ready to be divided and shaped into its final form for the second and final proof.

Comments