Keeping your reusable bottle germ-free is essential for staying healthy and hydrated while reducing environmental waste. Without proper maintenance, these eco-friendly containers can trap moisture and microscopic debris, leading to unpleasant odors and hazardous biofilm buildup. To effectively prevent bacterial growth, you should implement a routine that includes daily scrubbing with hot soapy water and regular deep-cleaning sessions using natural disinfectants like white vinegar. Focusing on hard-to-reach areas like the cap threads and internal straws ensures a comprehensive clean every time. Selecting high-quality tools is the final step in your hygiene routine, which often leads to the comparison of Silicone Bottle Brushes Versus Bristle Brushes for maintaining a pristine, scratch-free finish.

Understanding Biofilm and Bacterial Growth
Biofilms are complex communities of microorganisms that adhere to surfaces in the kitchen, particularly within reusable bottles and damp containers. These slimy layers form when bacteria secrete extracellular polymeric substances, creating a structural shield that protects the colony from standard rinsing. In a kitchen environment, moisture combined with residual sugars or proteins provides the perfect fuel for this microbial proliferation. Once established, biofilms are significantly more resistant to detergents and light cleaning than free-floating bacteria. This is why a simple water rinse is often insufficient to ensure long-term safety. Pathogens such as Staphylococcus aureus or E. coli can thrive within these matrixes, leading to persistent unpleasant odors and potential foodborne illnesses. Understanding that biofilm is a physical structure highlights the necessity of mechanical scrubbing. Without physical agitation, the bacteria remain protected beneath the slime layer, ready to contaminate the next liquid poured into the vessel. Consistent microbial management is the only way to disrupt these colonies before they become a permanent fixture on your kitchenware.
Daily Maintenance for Maximum Hygiene
To prevent the accumulation of bacteria and the formation of biofilms, daily maintenance is essential. Every item used for food or drink consumption should undergo a basic sanitation cycle after each use to ensure organic residues do not sit overnight. Bacteria can double in number every twenty minutes under the right conditions, making immediate cleaning a vital defensive strategy. Following a structured routine helps minimize the risk of cross-contamination in the kitchen environment.
- Empty all remaining liquids immediately after use to prevent stagnant pools.
- Rinse the vessel with warm water to dislodge loose particles and surface sugars.
- Apply concentrated dish soap and use a cloth to wipe the exterior and rim.
- Use a dedicated brush to agitate the internal surfaces where hands cannot reach.
- Perform a final rinse with high-temperature water to wash away soap suds and loosened debris.
- Place the item upside down on a clean, ventilated rack to air dry completely.
Implementing these simple steps ensures that the microbial load remains low and prevents the "sour" smell often associated with neglected bottles.
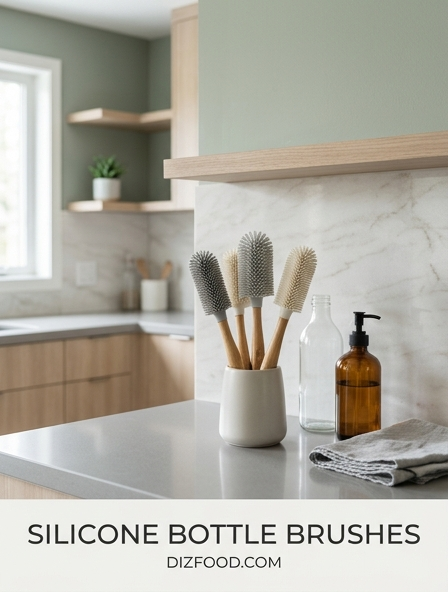
Essential Tools for Deep Scrubbing
Standard sponges are often inadequate for cleaning the narrow contours and deep recesses of kitchen bottles and specialized containers. To achieve a high level of hygiene, specific tools are required to provide the mechanical friction necessary to break down bacterial biofilms. The porous nature of traditional kitchen sponges also means they can harbor bacteria themselves, potentially transferring pathogens to the items you are trying to clean. Investing in the right arsenal of tools ensures that every "blind spot" in a container is addressed effectively.
- Long-handled bottle brushes with nylon or silicone bristles to reach the bottom corners.
- Micro-brushes or pipe cleaners designed specifically for the interior of reusable straws.
- Detail nibs or small crevice brushes for cleaning around the threads of bottle caps.
- Non-abrasive scouring pads for removing stubborn exterior stains without scratching.
- Magnetic spot scrubbers for uniquely shaped glassware that resists traditional brushes.
By using these targeted tools, you ensure that no surface is left untouched, significantly reducing the areas where bacteria can hide and colonize over time.
Natural Disinfectants Vinegar and Soda
For those looking to avoid harsh industrial chemicals in the kitchen, white vinegar and baking soda provide a powerful two-pronged attack against bacterial growth. White vinegar contains acetic acid, which acts as a mild disinfectant capable of killing many common household pathogens and neutralizing alkaline odors. Baking soda, or sodium bicarbonate, serves as a gentle abrasive that helps physically lift biofilms and dried residues from smooth surfaces without causing micro-scratches where bacteria could later hide. When used together or in succession, they create a cleaning environment that is hostile to microbial life. For a deep soak, filling a bottle with a mixture of warm water and vinegar can dissolve mineral scales that trap bacteria. Following this with a baking soda paste allows for targeted scrubbing of the most stubborn areas. This combination is not only effective but also food-safe, ensuring that no toxic residues remain in your drinking vessels. Regularly employing these natural agents helps maintain a pristine environment while being environmentally conscious and cost-effective for daily kitchen upkeep.
Sanitizing Caps Straws and Seals
The most frequent failure point in kitchen hygiene is the neglect of small components like bottle caps, straws, and silicone seals. These areas feature tight crevices and damp environments that are rarely exposed to light or air, making them the primary breeding grounds for black mold and bacterial colonies. Silicone gaskets, in particular, are porous and can trap moisture and organic matter behind them, leading to hidden contamination that a general wash will miss. To properly sanitize these parts, they must be completely disassembled. Simply running soapy water through a straw is insufficient; a dedicated straw brush must be used to physically clear the internal walls. Soaking these small parts in a sanitizing solution of vinegar or food-grade hydrogen peroxide can reach into the microscopic pores of the seals. If a seal appears discolored or develops black spots that do not wash away, it is a sign of deep fungal infiltration, and the component should be replaced. Consistent attention to these small details prevents the "hidden" growth that often causes water to taste off or triggers allergic reactions to mold spores.
Material Specific Cleaning Protocols
Different materials used in kitchenware require specific cleaning approaches to ensure longevity and hygiene. A method that works for stainless steel might damage plastic, while glass requires care to avoid thermal shock or breakage. Understanding the properties of each material allows for more effective sanitation without compromising the structural integrity of the item. Using the wrong chemicals or temperatures can lead to leaching or surface degradation, which actually creates more places for bacteria to flourish.
| Material | Cleaning Method | Precautions |
|---|---|---|
| Stainless Steel | Hot water, soap, or vinegar. | Avoid bleach, as it causes pitting and corrosion. |
| Glass | Dishwasher safe or boiling water. | Avoid sudden temperature changes to prevent cracking. |
| Plastic (BPA-Free) | Warm soapy water and soft brushes. | Avoid high heat, which can cause warping or leaching. |
| Silicone | Deep soaking or boiling. | Ensure complete drying to prevent mold attachment. |
Adhering to these protocols ensures that the surfaces remain smooth and non-porous, making it significantly harder for bacteria to gain a foothold during daily use.
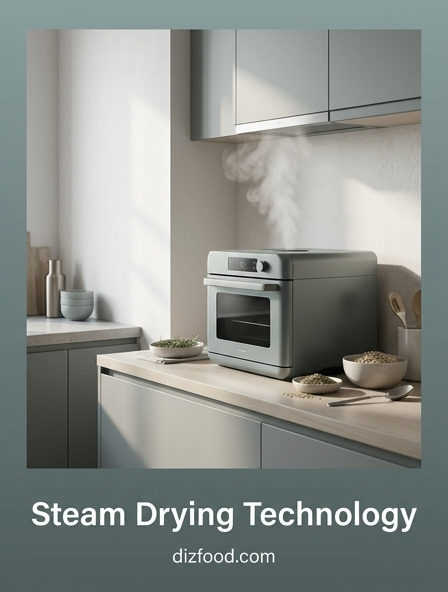
Deep Cleaning with Boiling Water
Thermal sanitization is one of the oldest and most effective methods for eliminating kitchen bacteria. Boiling water at 212°F (100°C) provides enough heat energy to denature the proteins and enzymes essential for bacterial life, effectively sterilizing the surface. This method is particularly useful for glass and high-quality stainless steel items that can withstand extreme temperatures. To perform a deep clean, items should be submerged in boiling water for at least five to ten minutes. This duration ensures that even the most heat-resistant spores are neutralized. However, users must exercise caution; many modern plastics and adhesives used in "vacuum-insulated" bottles can be destroyed by boiling water. For insulated flasks, boiling water should only be used on the interior, as submerging the entire bottle can damage the vacuum seal between the layers. When used correctly, heat is a chemical-free way to ensure that your containers are biologically clean. It is an excellent weekly ritual for items that see heavy use or those that have been forgotten in a gym bag or car, where heat and time have allowed bacteria to flourish.
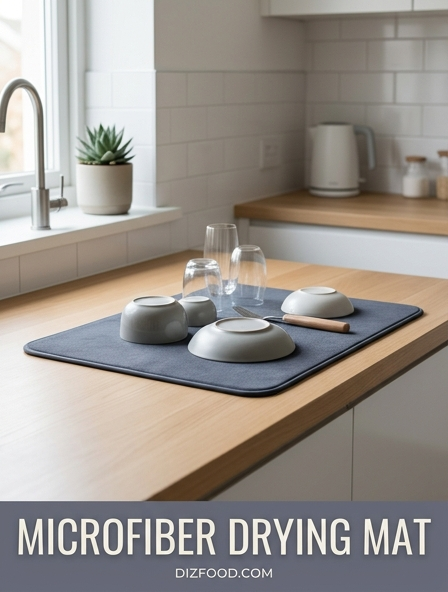
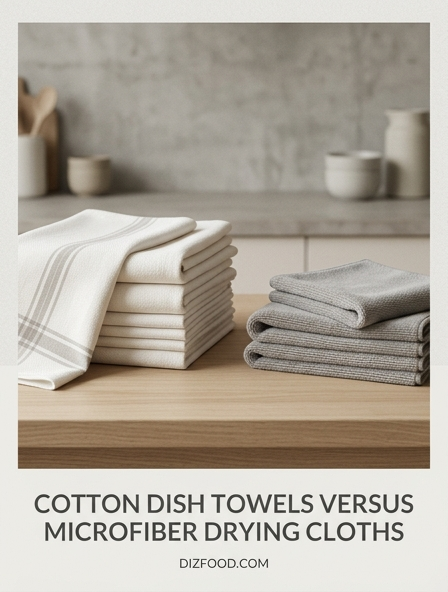
Proper Drying to Prevent Mold
Cleaning is only half the battle; the drying process is equally critical in the fight against microbial growth. Bacteria and mold require moisture to survive and reproduce. If a bottle is washed and then immediately capped, the trapped humidity creates a literal greenhouse for any surviving spores. Proper drying requires maximum airflow and the total elimination of stagnant water. Simply leaving a bottle upright on a counter is often ineffective because heavy, moist air remains trapped at the bottom. Instead, bottles should be placed on a specialized drying rack that holds them at an angle or upside down, allowing water to drain out and fresh air to circulate inside. For items with complex lids or straws, these should be laid out separately rather than reassembled while damp. In humid climates, using a clean towel to hand-dry the exterior and as much of the interior as possible can accelerate the process. Only when every component is bone-dry to the touch should the item be reassembled and stored. This final step in the hygiene cycle is the most effective way to prevent the development of musty odors and fungal patches.
Dishwasher Safety and Best Practices
The dishwasher is a powerful ally in kitchen sanitation, but it must be used correctly to be effective against bacterial growth. Most modern dishwashers feature a "sanitize" cycle that reaches higher temperatures than standard hand-washing, providing a more thorough microbial kill. However, the placement of items is crucial. Bottles should always be placed on the top rack, away from the heating element, to prevent melting or warping. They must be angled so that the spray arms can inject soapy water into the opening and, more importantly, allow the water to drain out completely. If a bottle is positioned flat, it will simply collect dirty "gray water" and food particles, leaving it dirtier than before. It is also important to note that many decorated or vacuum-insulated bottles are labeled "hand wash only" because the dishwasher's high heat and harsh detergents can strip coatings or break the insulation seal. Always check the manufacturer's instructions before loading. Using a high-quality rinse aid can also help by reducing surface tension, ensuring that water sheets off the surfaces and the items dry faster, further inhibiting post-wash bacterial colonization.
Identifying When to Replace Bottles
Despite the best cleaning efforts, all kitchen containers have a finite lifespan. Over time, physical wear creates microscopic scratches and pits in the material-especially in plastic and lined metal containers. These tiny abrasions act as "safe harbors" where bacteria and biofilms can anchor themselves, making them virtually impossible to remove with standard scrubbing. If you notice a persistent odor that remains even after a deep vinegar soak or boiling, it is a clear sign that bacteria have deeply colonized the material. Other warning signs include visible cloudiness in plastic, which indicates the material is breaking down, or the appearance of black spots inside silicone seals that cannot be scrubbed away. For stainless steel, look for signs of rust or a metallic taste in the water, which suggests the protective chromium oxide layer has failed. Cracks in lids or crumbling gaskets also pose a risk, as they can trap organic matter and leak bacteria back into your drink. Regularly auditing your kitchenware and replacing items that show these signs of degradation is a necessary step in maintaining a truly hygienic kitchen environment.


Comments