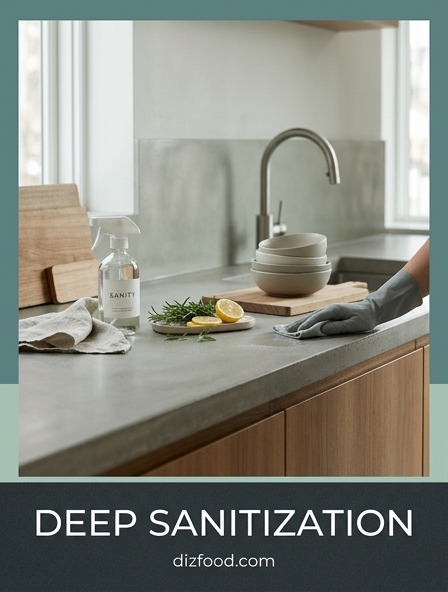
Natural Disinfectants for Food Surfaces
Maintaining a sterile environment in the kitchen is paramount, especially on surfaces that come into direct contact with raw ingredients. Natural disinfectants offer a potent alternative to harsh industrial chemicals, utilizing the inherent acidity and antimicrobial properties of organic compounds. Citric acid, found abundantly in lemons and limes, acts as a mild chelating agent that helps break down mineral deposits and inhibit the growth of common foodborne pathogens like Salmonella and E. coli. When combined with high-proof grain alcohol or distilled white vinegar, these natural agents create an inhospitable environment for microbes without leaving behind toxic residues that could contaminate meals.
- Lemon Juice: High acidity levels disrupt bacterial cell membranes.
- Distilled White Vinegar: Contains acetic acid, effective against a broad spectrum of mold and bacteria.
- Thymol: Derived from thyme oil, this EPA-recognized botanical disinfectant is highly effective for deep sanitization.
- Isopropanol (70%): Rapidly evaporates while denaturing proteins in viruses and bacteria.
To maximize efficacy, these substances require adequate dwell time. Spraying a surface and allowing it to remain wet for at least sixty seconds ensures that the biochemical reactions necessary to neutralize pathogens can occur fully before the surface is wiped dry.
Power of Steam for Chemical Free Sanitizing
Steam cleaning represents one of the most effective methods for deep sanitizing a kitchen without the use of supplemental detergents. By utilizing pressurized water vapor heated to temperatures exceeding 212 degrees Fahrenheit, steam penetrates porous surfaces and microscopic crevices that traditional cloths cannot reach. This intense heat effectively kills 99.9% of bacteria, viruses, and dust mites on contact. Furthermore, the pressure exerted by a steam cleaner physically loosens stubborn grease and carbonized food particles, making it an ideal solution for oven interiors, stovetops, and tile grout where grime tends to accumulate.
- Pre-clean the area by removing loose debris and surface crumbs.
- Apply the steam nozzle directly to the target area, moving slowly to ensure the surface temperature rises sufficiently.
- Use a specialized brush attachment for agitated scrubbing on textured surfaces like stone countertops.
- Wipe away the liquefied residue with a clean microfiber cloth to prevent re-deposition.
Because steam evaporates almost instantly, it reduces the risk of moisture-induced mold growth in hidden corners. This method is particularly beneficial for sanitizing refrigerator seals and sink overflows, where chemical residues are difficult to rinse away safely.
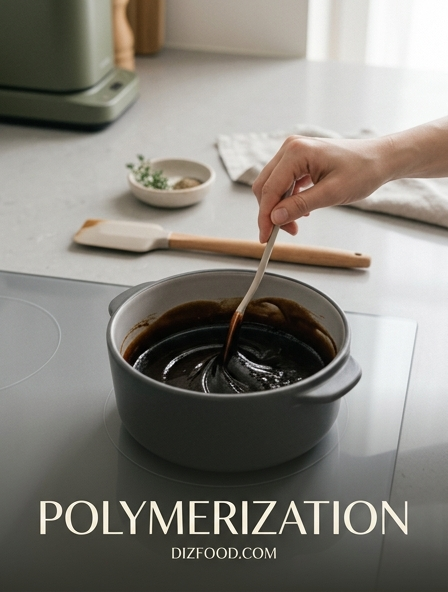
Vinegar and Baking Soda Synergies
The combination of distilled white vinegar and baking soda is a staple of non-toxic kitchen maintenance, prized for its mechanical and chemical versatility. Baking soda, or sodium bicarbonate, acts as a mild abrasive and an alkaline buffer, while vinegar provides the acidic punch necessary to dissolve scale and cut through alkaline residues. When these two substances meet, a carbon dioxide gas reaction occurs, creating a bubbling action that physically lifts dirt from surfaces. While the mixture eventually neutralizes into salt water, the individual properties of each stage of the reaction serve specific cleaning purposes.
| Component | Primary Function | Best Kitchen Use |
|---|---|---|
| Baking Soda | Abrasive/Deodorizer | Scrubbing sinks and stainless steel. |
| White Vinegar | Solvent/Descaler | Removing hard water spots from faucets. |
| The Reaction | Mechanical Lifting | Clearing slow-moving drains and disposal units. |
For deep sanitization, it is often best to use these ingredients sequentially rather than simultaneously. Scrubbing with baking soda first removes the physical biofilm, allowing a subsequent vinegar rinse to more effectively reach and neutralize any remaining microbial activity on the cleaned surface.
Antimicrobial Properties of Essential Oils
Essential oils are more than just aromatic additions to a cleaning routine; many possess concentrated phytochemicals with documented antimicrobial, antifungal, and antiviral properties. In a kitchen setting, incorporating these oils into DIY cleaning sprays can enhance the sanitizing power of water or soap-based solutions. Phenolic compounds found in certain plants, such as Oregano and Thyme, are particularly aggressive against bacterial biofilms. Unlike synthetic fragrances, these natural extracts break down quickly in the environment and do not pose the same respiratory risks associated with volatile organic compounds (VOCs) found in commercial air fresheners and cleaners.
- Tea Tree Oil: Known for its broad-spectrum antifungal and antibacterial capabilities.
- Peppermint Oil: Acts as a natural deterrent for pests while providing a fresh scent.
- Eucalyptus Oil: Highly effective at breaking down sticky residues and disinfecting hard surfaces.
- Cinnamon Leaf Oil: Contains high levels of eugenol, which inhibits yeast and mold growth.
When using essential oils for sanitization, it is crucial to use therapeutic-grade products and ensure they are properly emulsified. Since oil and water do not mix, adding a small amount of castile soap or alcohol helps distribute the essential oils evenly throughout the solution for consistent pathogen control.
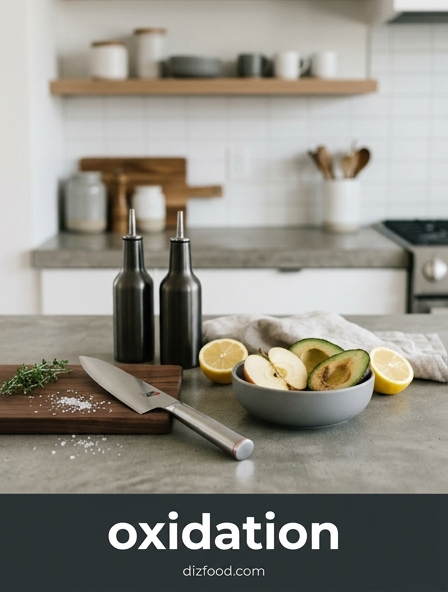
Safe Application of Hydrogen Peroxide
Hydrogen peroxide (H2O2) is an environmentally friendly oxidizing agent that decomposes into nothing more than water and oxygen. In the kitchen, a 3% concentration is a powerful tool for sanitizing high-touch areas and porous materials. Its oxidative action literally explodes the cell walls of bacteria and fungi, making it highly effective against stubborn pathogens like Listeria, which can linger in cold, damp environments. Because it does not leave a toxic film, it is safe for use on surfaces that come into contact with meat, poultry, and vegetables, provided it is allowed to air dry or is rinsed after use.
- Transfer the peroxide to a dark spray bottle, as light exposure degrades its potency.
- Spray the solution onto cutting boards or countertops after they have been washed with soap.
- Allow the solution to fizz; this reaction indicates the peroxide is actively oxidizing organic matter.
- Wait at least five to ten minutes for maximum germicidal impact before wiping.
It is important to avoid mixing hydrogen peroxide with vinegar in the same bottle, as this creates peracetic acid. While peracetic acid is a strong disinfectant, it can be corrosive and irritating to the respiratory system if used in an unventilated domestic kitchen.
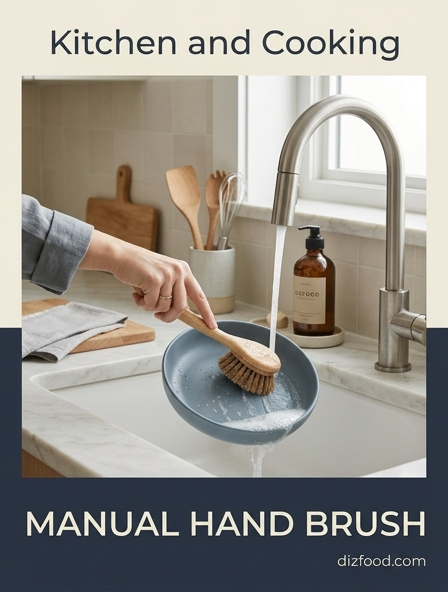
Sanitizing Sponges and Cutting Boards Naturally
Sponges and cutting boards are notorious reservoirs for cross-contamination in the kitchen. To ensure deep sanitization, these tools require more than a simple rinse with dish soap. For wooden cutting boards, the goal is to neutralize bacteria trapped within the wood fibers without warping the material. A combination of coarse sea salt and lemon halves can be used to scrub the surface, where the salt acts as an abrasive and the lemon juice provides the acid needed to kill microbes. This method also helps pull moisture out of the wood, which is essential since bacteria thrive in damp environments.
- Sponge Heat Treatment: Microwave a wet sponge for two minutes to kill 99% of bacteria.
- Boiling Water Bath: Submerge heat-resistant tools in boiling water for five minutes for total sterilization.
- Solar Sanitization: Placing boards in direct sunlight utilizes UV rays to naturally bleach and disinfect.
- Mineral Oil Coating: Regularly oiling boards prevents liquid absorption, denying bacteria a place to grow.
Consistency is key when managing these items. Sponges should be sanitized daily and replaced weekly, while cutting boards should be dedicated to specific food groups-such as one for raw proteins and another for produce-to prevent the spread of pathogens across the kitchen landscape.
Microfiber Technology for Pathogen Removal
Modern microfiber cloths are an essential component of a deep sanitization strategy due to their unique physical structure. Unlike cotton towels that simply push dirt and bacteria around, microfiber is composed of millions of tiny, split fibers that are approximately 1/100th the diameter of a human hair. This creates a massive surface area capable of mechanically trapping and lifting up to 99% of bacteria and viruses from a surface using only water. The positive charge of the polyester fibers attracts negatively charged dust and pathogens, holding them securely within the cloth until it is laundered in high-temperature water.
| Feature | Microfiber Advantage | Standard Cotton |
|---|---|---|
| Fiber Density | High (Split fibers) | Low (Round fibers) |
| Bacterial Removal | 98-99% mechanical removal | 30-33% mechanical removal |
| Chemical Need | Minimal to none | Requires high concentrations |
| Durability | Can be washed 500+ times | Degrades quickly |
To maintain the efficacy of microfiber, it must be cleaned correctly. Avoiding fabric softeners is critical, as the oils in softeners can clog the microscopic hooks of the fibers, rendering them unable to trap pathogens effectively during the next cleaning cycle.
High Temperature Cleaning for Kitchen Tools
Temperature control is one of the most reliable methods for ensuring the destruction of harmful biological agents. In a professional-grade kitchen deep clean, heat is utilized both through hot water immersion and dry heat applications. Dishwashers with a "sanitize" cycle are designed to reach a minimum internal temperature of 150 degrees Fahrenheit, which is sufficient to reduce bacterial counts to safe levels. However, for items that cannot be placed in a dishwasher, such as heavy-duty cast iron or specialized baking stones, alternative heat methods must be employed to ensure they are free of contaminants without damaging their integrity.
- Utilize the dishwasher's highest heat setting for all glass, ceramic, and stainless steel utensils.
- Use a digital thermometer to verify that your tap water reaches at least 120 degrees for manual scrubbing.
- Place metal racks and pans in a 250-degree oven for twenty minutes to achieve dry-heat sterilization.
- Always allow items to air dry completely, as towel-drying can introduce new bacteria to a sterile surface.
The transition from "clean" to "sanitized" occurs only when the thermal energy is high enough to denature the proteins within microbial cells. This is particularly important for tools used in processing raw meats or dairy products.
Bio Enzymatic Solutions for Deep Grime
For areas where organic matter has built up over time-such as floor drains, grease traps, and behind heavy appliances-bio-enzymatic cleaners offer a sophisticated solution. These cleaners contain "good" bacteria and specific enzymes like proteases, lipases, and amylases that literally "eat" organic waste. Unlike traditional degreasers that merely emulsify fat, enzymatic solutions break down the molecular structure of the grime, turning it into water and carbon dioxide. This process continues long after the initial application, as the living bacteria remain active in the crevices and pipes, providing an ongoing sanitizing effect that chemicals cannot match.
- Protease Enzymes: Specifically target protein-based stains like blood and meat juices.
- Lipase Enzymes: Highly effective at dissolving fats, oils, and stubborn grease.
- Amylase Enzymes: Break down complex carbohydrates and starches.
- Cellulase Enzymes: Useful for degrading vegetable matter and paper residues.
Because these solutions are non-corrosive and non-toxic, they are safe for use on all kitchen surfaces and plumbing systems. They are particularly effective for odor control, as they eliminate the source of the smell rather than just masking it with synthetic perfumes.
Maintaining a Non Toxic Cleaning Schedule
Deep sanitization is not a one-time event but a continuous process that relies on a structured schedule. A well-organized cleaning routine ensures that no corner of the kitchen is neglected and that pathogen levels are kept consistently low. By categorizing tasks into daily, weekly, and monthly frequencies, you can maintain a high standard of hygiene without feeling overwhelmed. Utilizing non-toxic agents throughout this schedule prevents the cumulative buildup of chemical residues, which is especially important for households with children, pets, or individuals with respiratory sensitivities.
| Frequency | Target Area | Recommended Agent |
|---|---|---|
| Daily | Countertops and Sinks | Vinegar or Alcohol Spray |
| Weekly | Floor Mopping and Fridge Interior | Castile Soap and Essential Oils |
| Monthly | Oven and Dishwasher Deep Clean | Baking Soda and Steam |
| Quarterly | Exhaust Filters and Drains | Bio-Enzymatic Cleaners |
Following a logical progression-cleaning from top to bottom and from the cleanest areas to the dirtiest-maximizes efficiency. This systematic approach ensures that gravity works in your favor, and that sanitized surfaces are not re-contaminated by debris falling from upper cabinets or vents during the cleaning process.


Comments